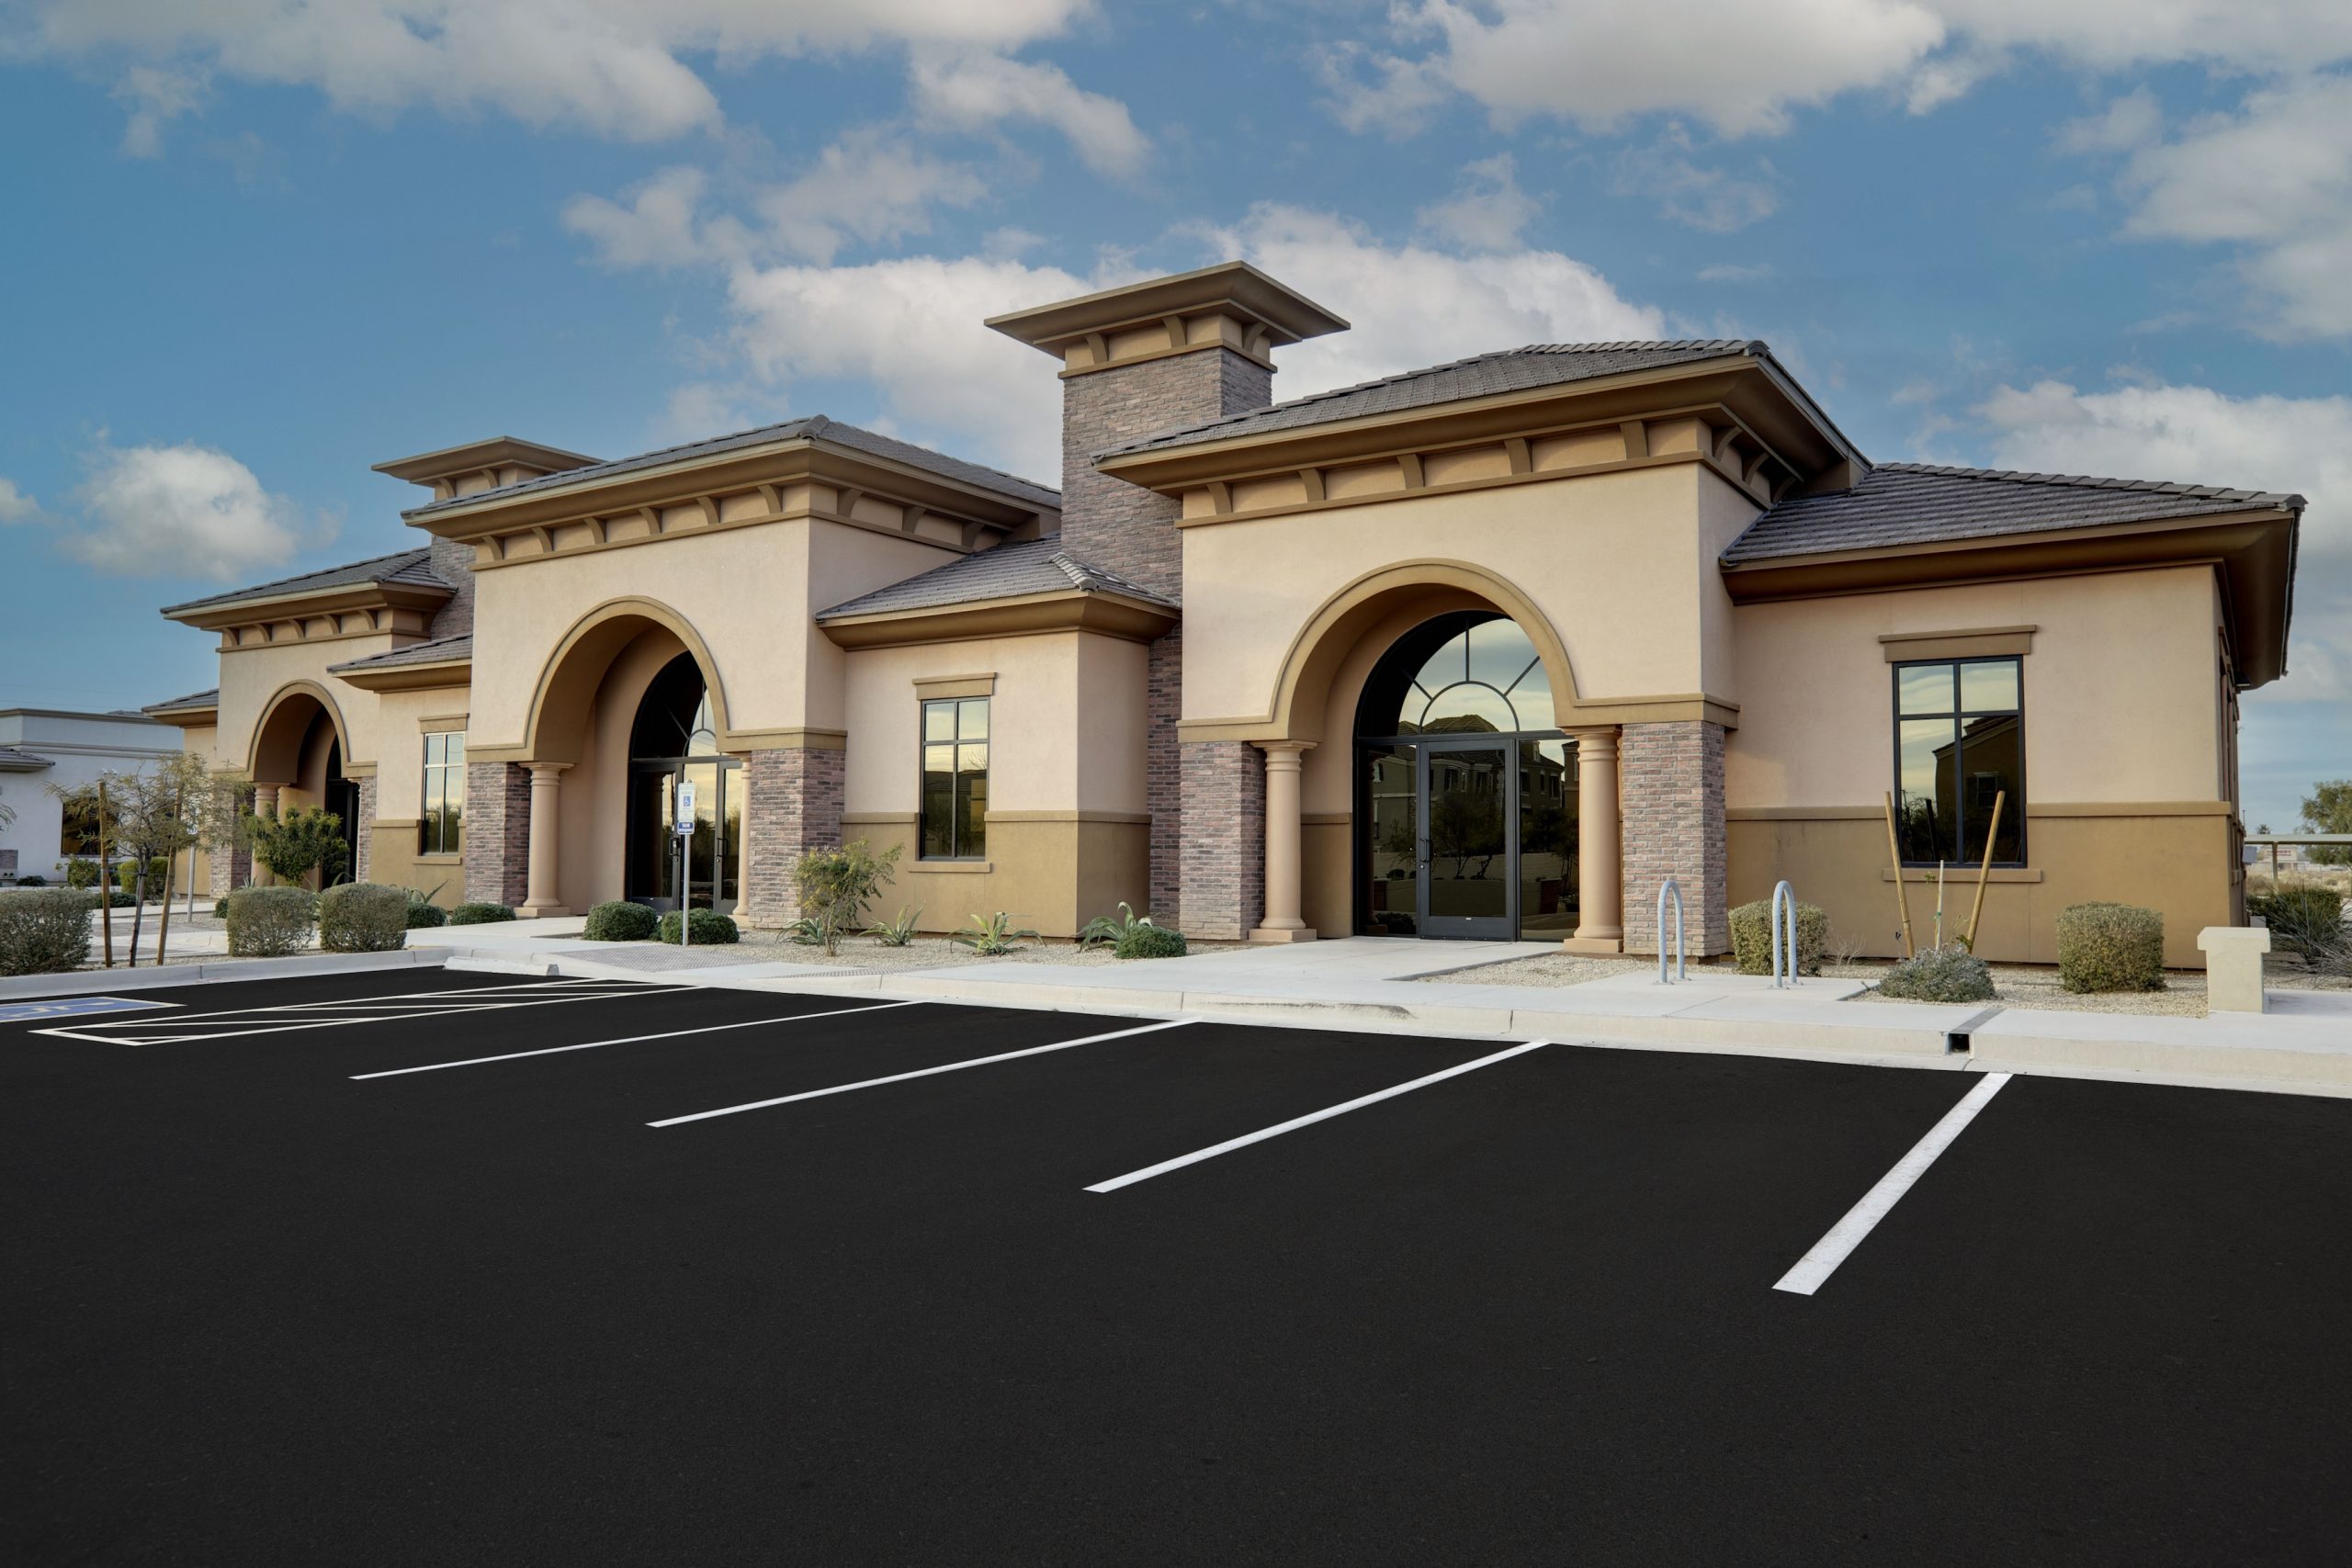
A freshly striped parking lot does more than enhance the property’s appearance. Clear and properly positioned pavement markings help organize traffic flow, define parking spaces and pedestrian areas and make it easier for drivers to navigate the lot. Whether you are restriping an existing parking lot or marking out a newly paved or seal-coated surface, achieving professional-looking results begins well before the first line of paint is applied. Proper pavement preparation, accurate layout, the right traffic marking paint and correctly adjusted line striping equipment all play crucial roles in the final outcome.
What You’ll Learn
- Step 1: Assess Parking Lot Conditions
- Step 2: Clean and Prep the Pavement
- Step 3: Measure and Mark Your Layout
- Step 4: Double-Check Your Layout
- Step 5: Choose the Right Traffic Marking Paint
- Step 6: Get Your Line Striper Ready
- Step 7: Stripe the Parking Lot
- Step 8: Finish with Stencils and Specialty Markings
- Step 9: Give the Paint Time to Dry
- Parking Lot Striping Mistakes to Watch For
- Learn More About Traffic Marking Paints
- SealMaster Support & Expertise
Step 1: Assess Parking Lot Conditions
Before starting your line striping project, get familiar with the space you will be working with. Walk the entire parking lot to assess the condition of the pavement and any existing markings. Pay attention to pavement repairs, worn markings, drainage areas, cracks, traffic patterns and other site conditions that could impact the project.
For restriping projects, evaluate which existing lines can be reused and identify any areas where the layout may need to be adjusted. For new layouts, review the planned parking configuration before taking measurements or making layout marks. Consider parking stalls, driving lanes, pedestrian areas, fire lanes, directional arrows and other required pavement markings.
Step 2: Clean and Prep the Pavement
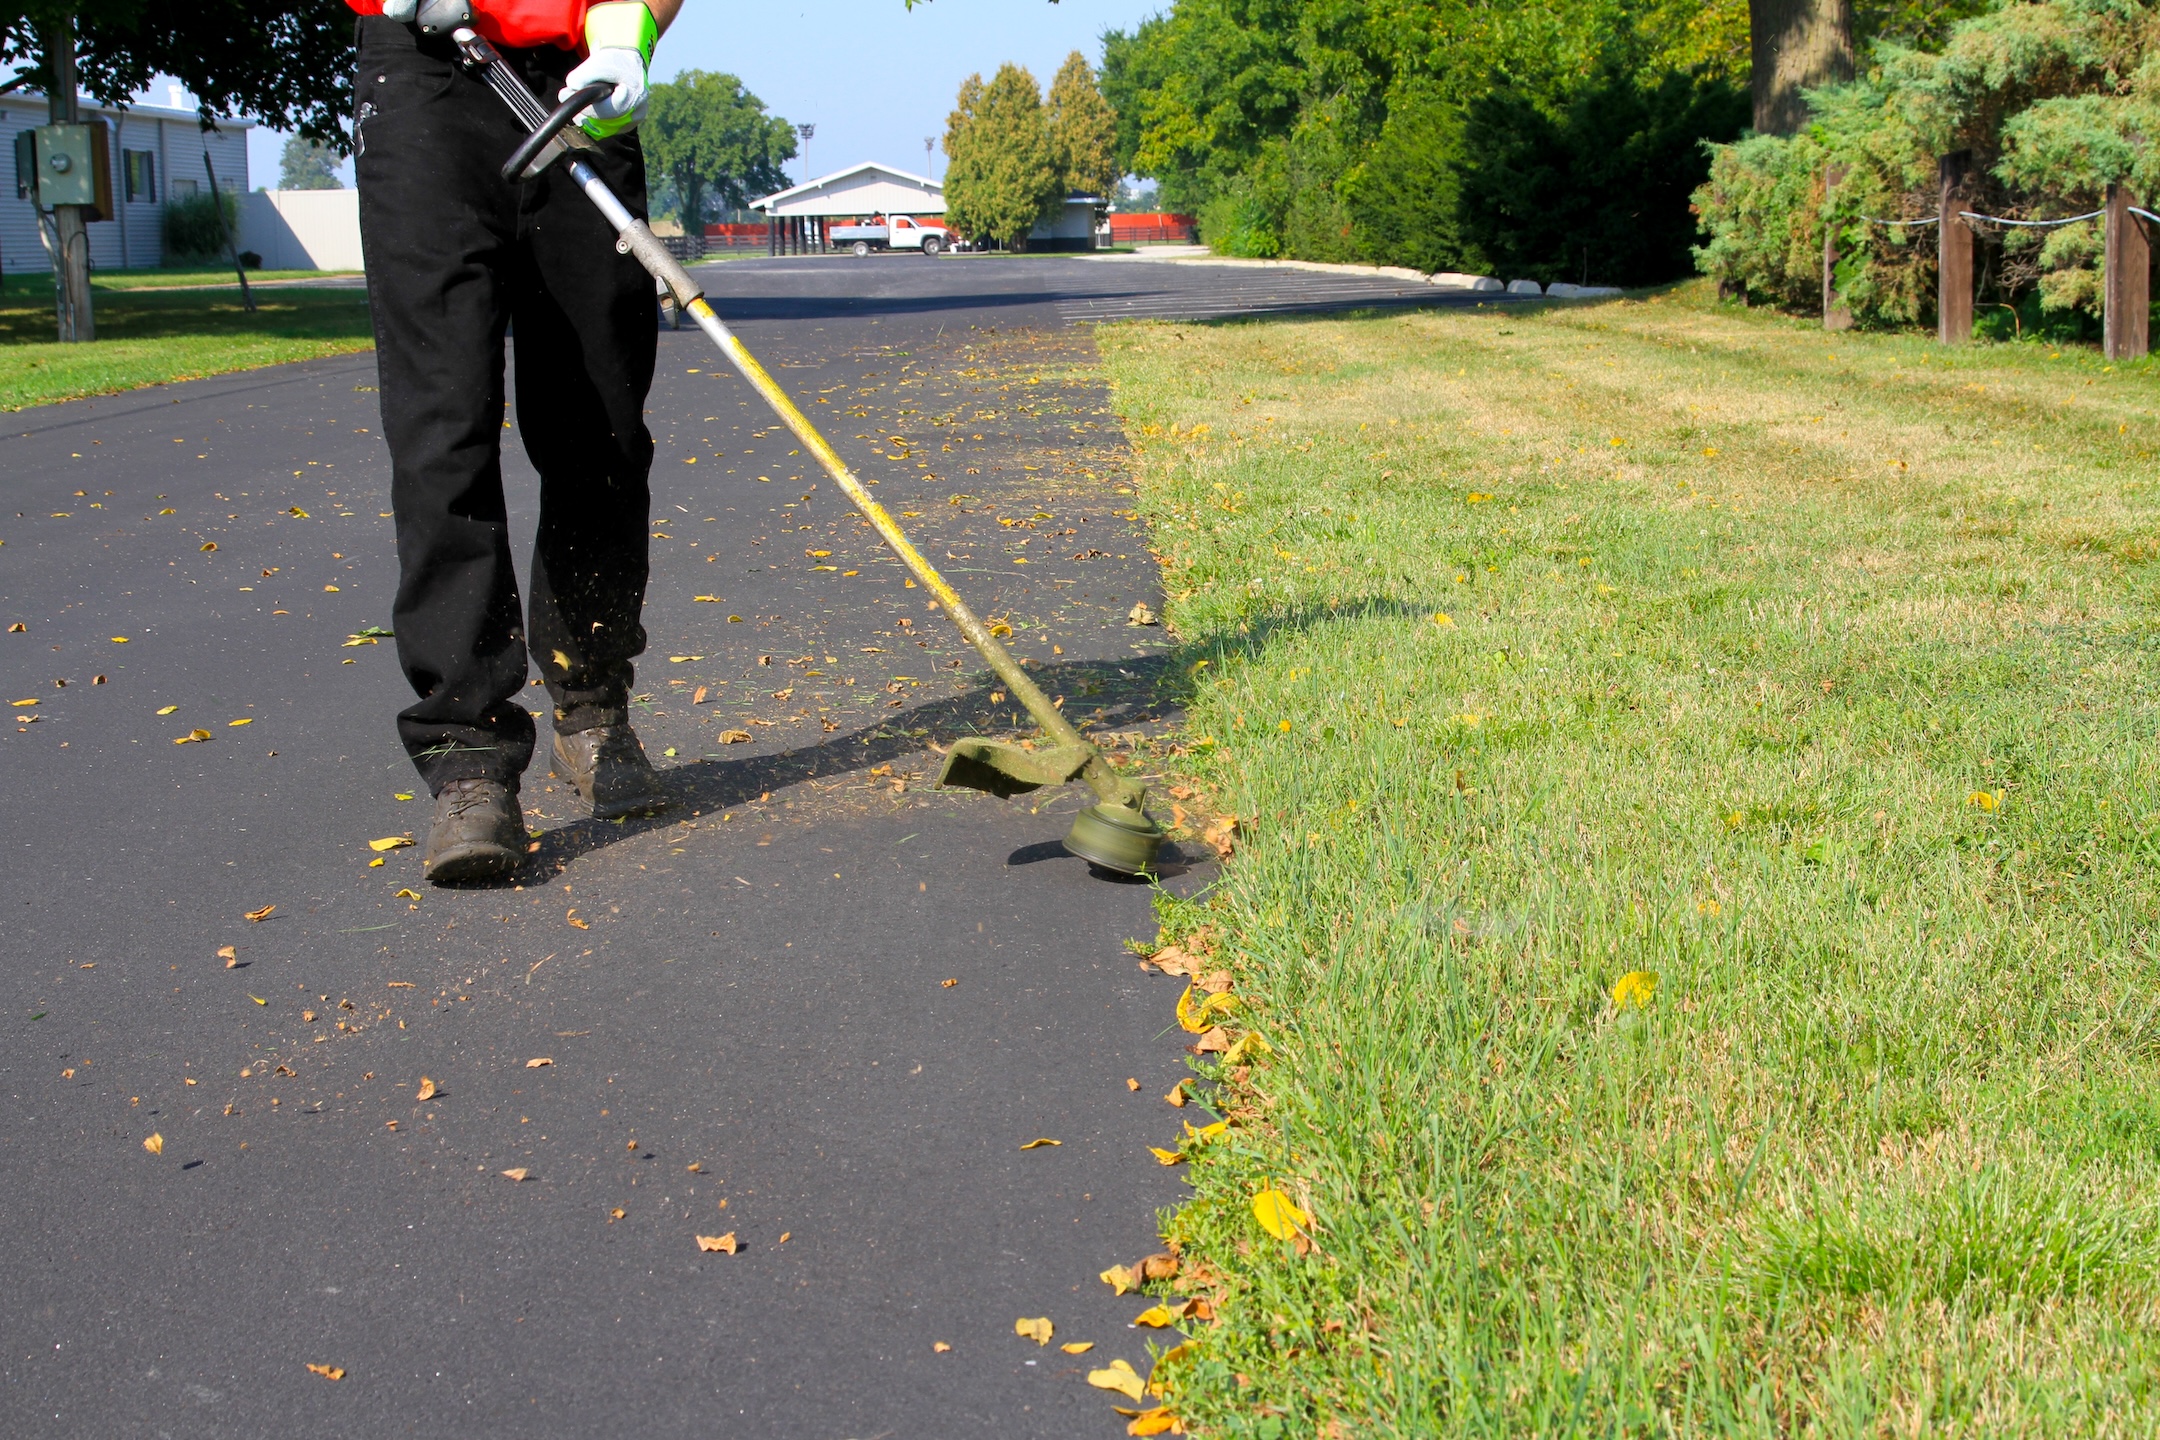
A clean, dry surface is essential for proper paint adhesion and long-lasting results. Traffic paint performs best when applied to clean, dry pavement, making surface preparation an important step before striping begins. Depending on the condition and size of the parking lot, different types of pavement preparation equipment can help get the surface ready for paint.
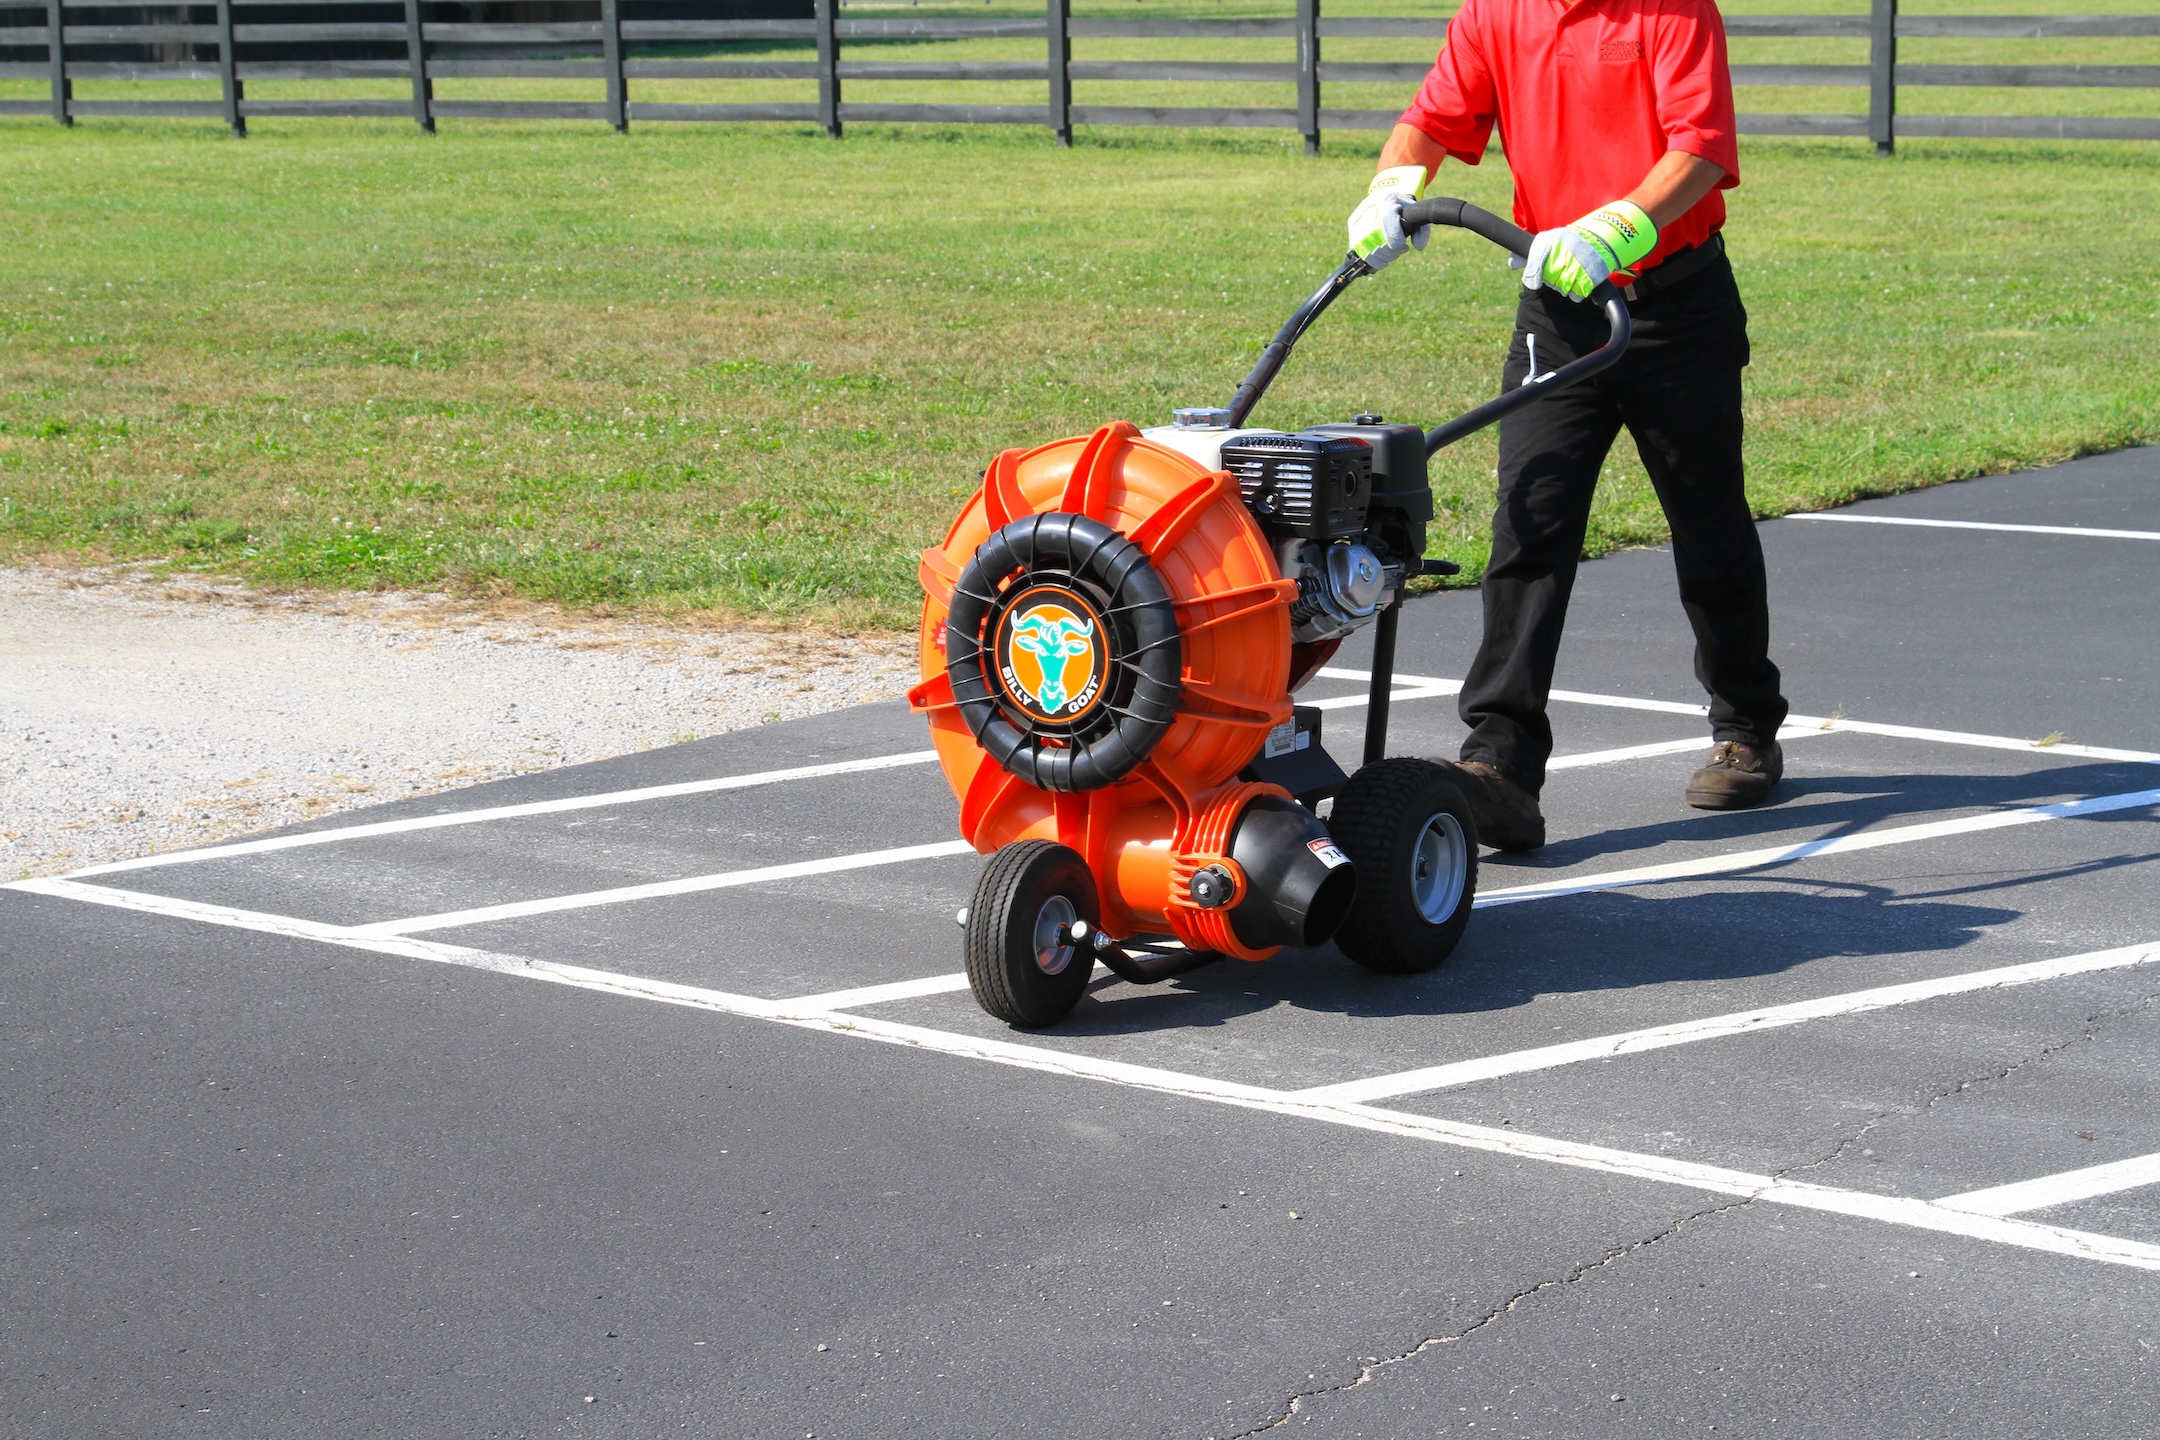
Blowers
Use a blower to quickly clear dirt, leaves, loose debris and standing water from the pavement. For general surface cleanup, SealMaster offers a variety of Billy Goat push and zero-turn stand-on blowers, along with Little Wonder Optimax push blowers to match different job sizes and cleanup needs.
Rotary Brooms
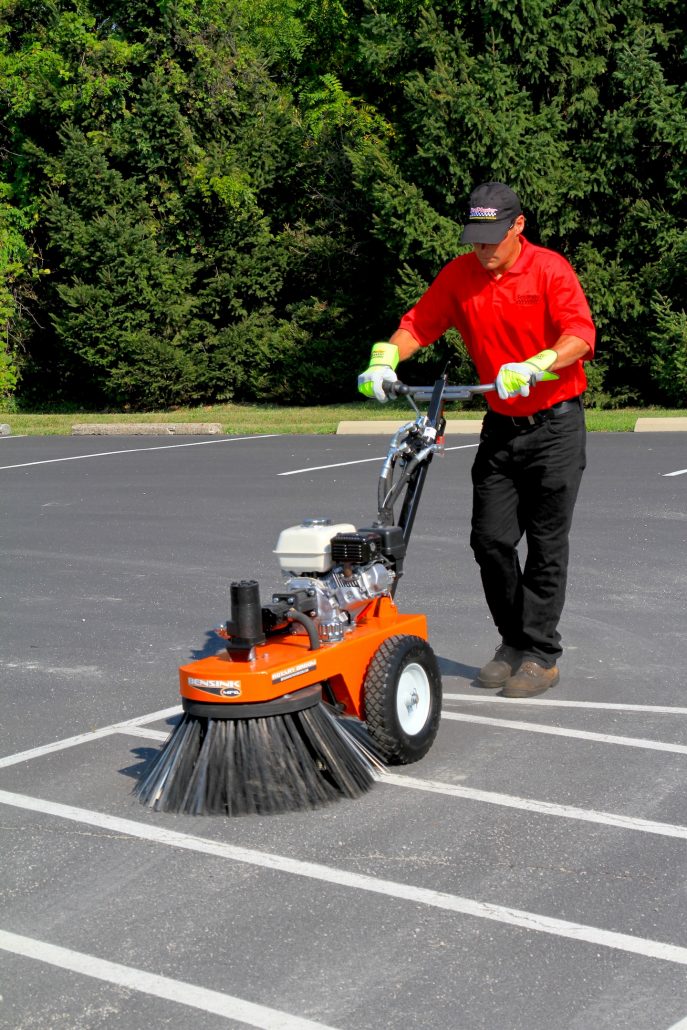
When a blower isn’t enough, use a rotary broom for more aggressive surface cleaning. Rotary brooms help loosen and remove material and buildup while providing added cleaning power along curbs, drains, low spots and other hard-to-reach areas.
SealMaster offers the RBMGX Mechanical and RBHGX Hydraulic Rotary Brooms for these applications.
Crack Cleaners
If cracks need to be repaired before striping, use a crack cleaner to remove dirt, debris and vegetation from the cracks and crevices. SealMaster offers the Billy Goat Grazor and Little Wonder Pro Crack Cleaner to help prepare pavement cracks for repair.
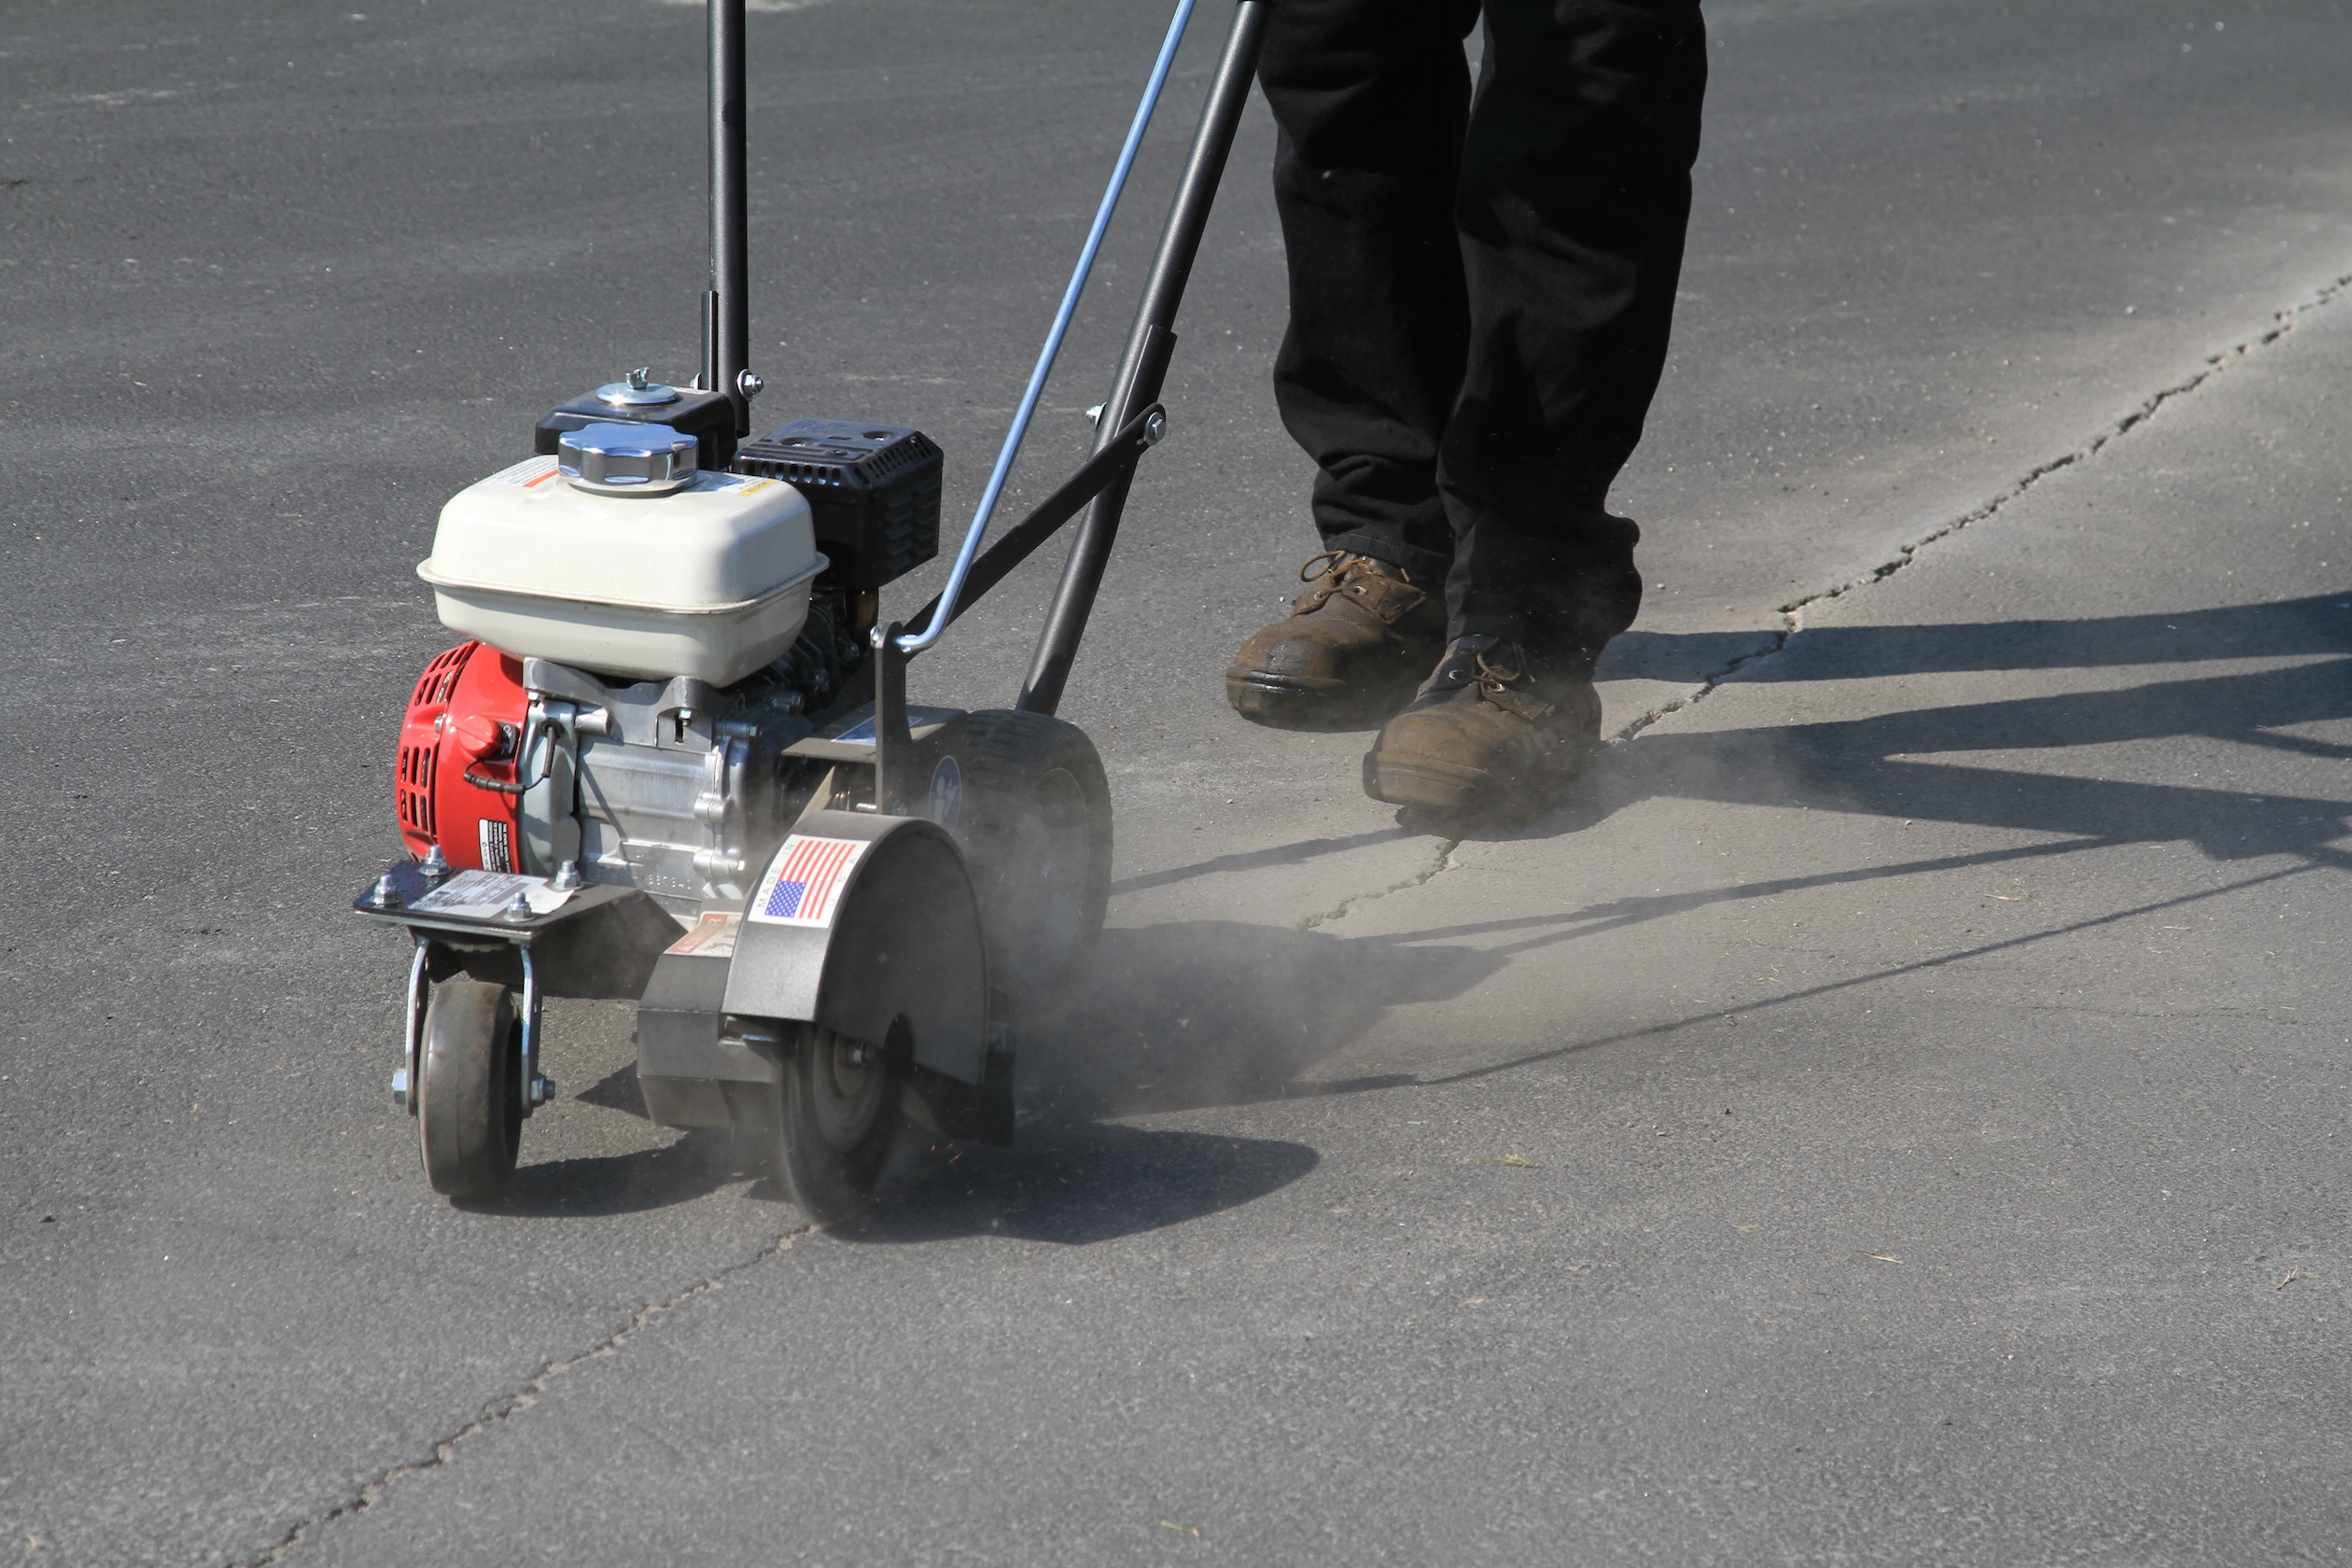
Regardless of the equipment used, make sure to remove dirt, leaves, loose aggregate, vegetation and other debris before applying traffic paint.
Pro Tip: Pay particular attention to areas where lines and markings will be applied. Dirt and loose material can interfere with paint adhesion and contribute to uneven or poorly defined lines.
Step 3: Measure and Mark Your Layout
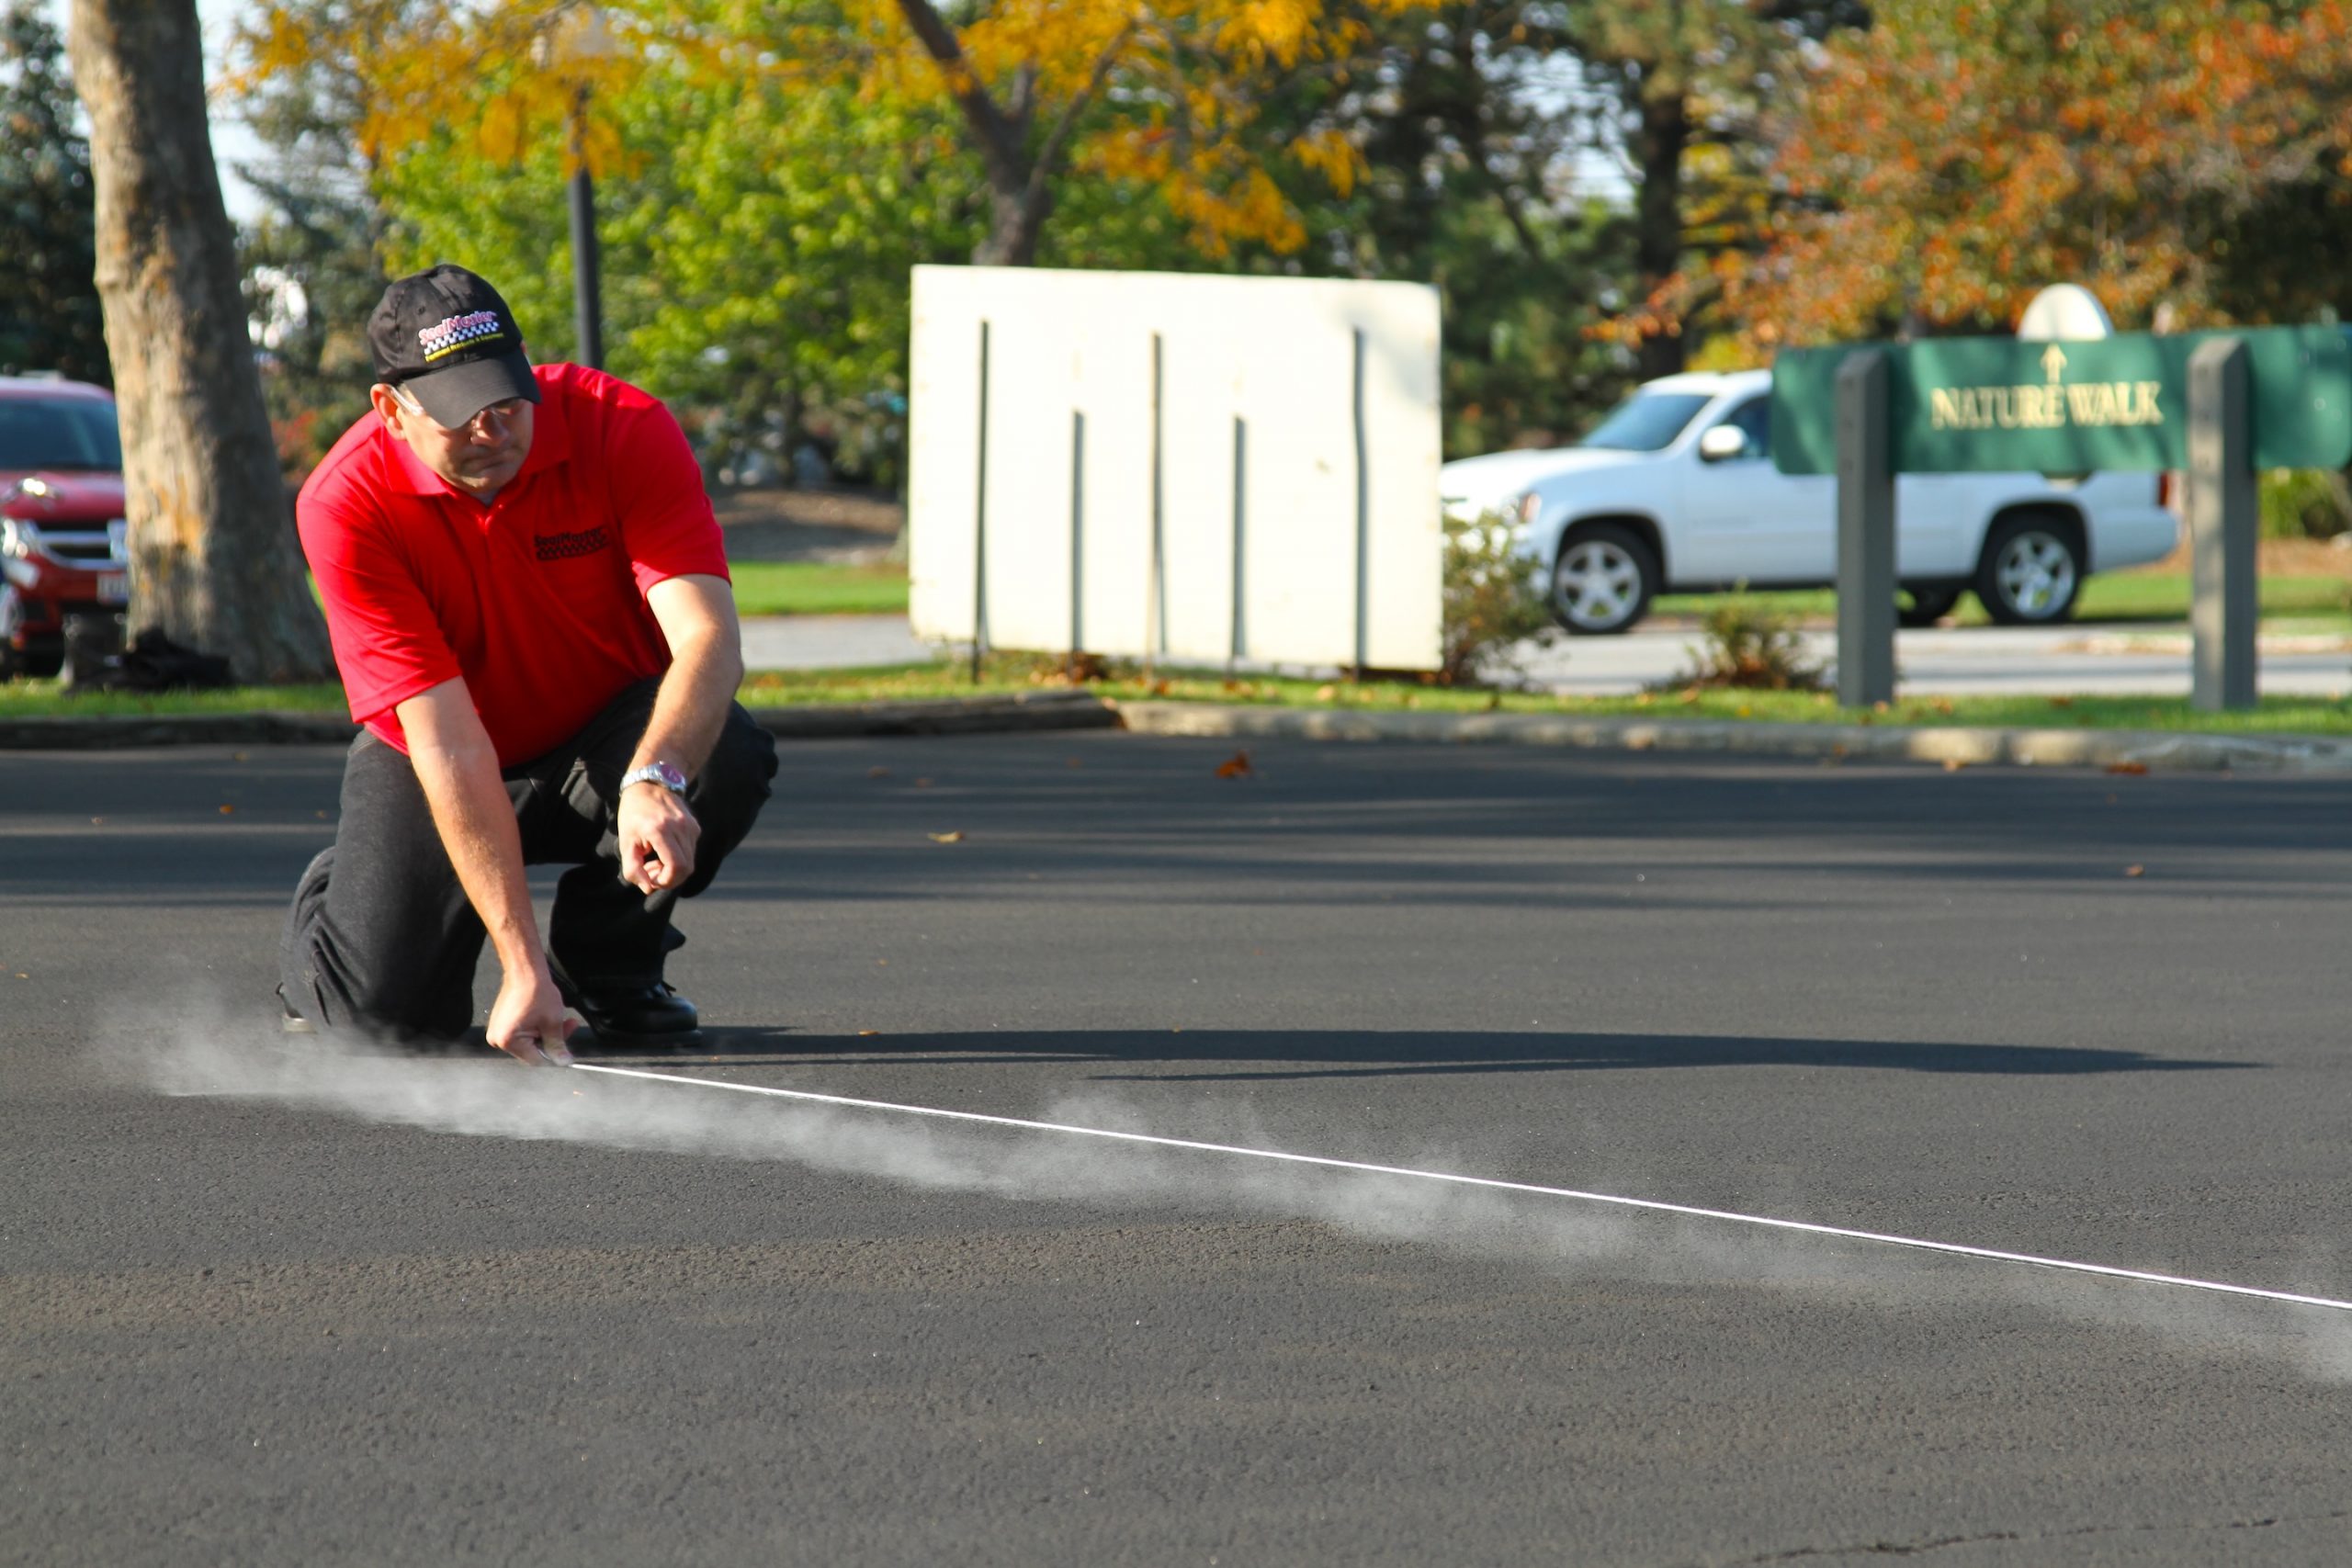
Once the pavement is clean and ready, the next step is to lay out where your lines and markings will go. Taking the time to measure carefully and establish reference points will help keep parking spaces straight, evenly spaced and consistent throughout the lot.
For restriping projects, existing lines can often be used as a guide. However, don’t assume the previous layout is correct. Check the measurements and look for areas where faded, crooked or poorly positioned lines may need to be adjusted before applying new paint.
For new layouts, use measuring tapes, chalk, string lines or other layout tools to mark parking stalls and establish straight reference lines. Start with key points throughout the lot and work from those measurements to maintain consistent spacing as the layout progresses.
Before moving on, walk through the layout one more time. Check your measurements, make sure your reference lines are straight and confirm that the overall layout works with the intended traffic flow.
Step 4: Double-Check Your Layout
Take one final look at the complete layout and make sure all required pavement markings have been accounted for.
Depending on the property, this may include parking stalls, accessible spaces and access aisles, arrows, fire lanes, crosswalks, loading zones, curbs and other stenciled markings.
Pay attention to accessible parking spaces and other markings that may have specific requirements. Always verify current federal, state and local requirements before striping or restriping a parking lot.
Once everything has been measured, marked and verified, you are ready to prepare your paint and line striping equipment.
Step 5: Choose the Right Traffic Marking Paint
Choosing the right traffic marking paint depends on the pavement surface, traffic conditions and the type of markings being applied. Different areas of the parking lot may also call for different types of paint or colors, so consider the needs of the entire project before getting started.
SealMaster offers several traffic marking paints for parking lots and other pavement marking projects:
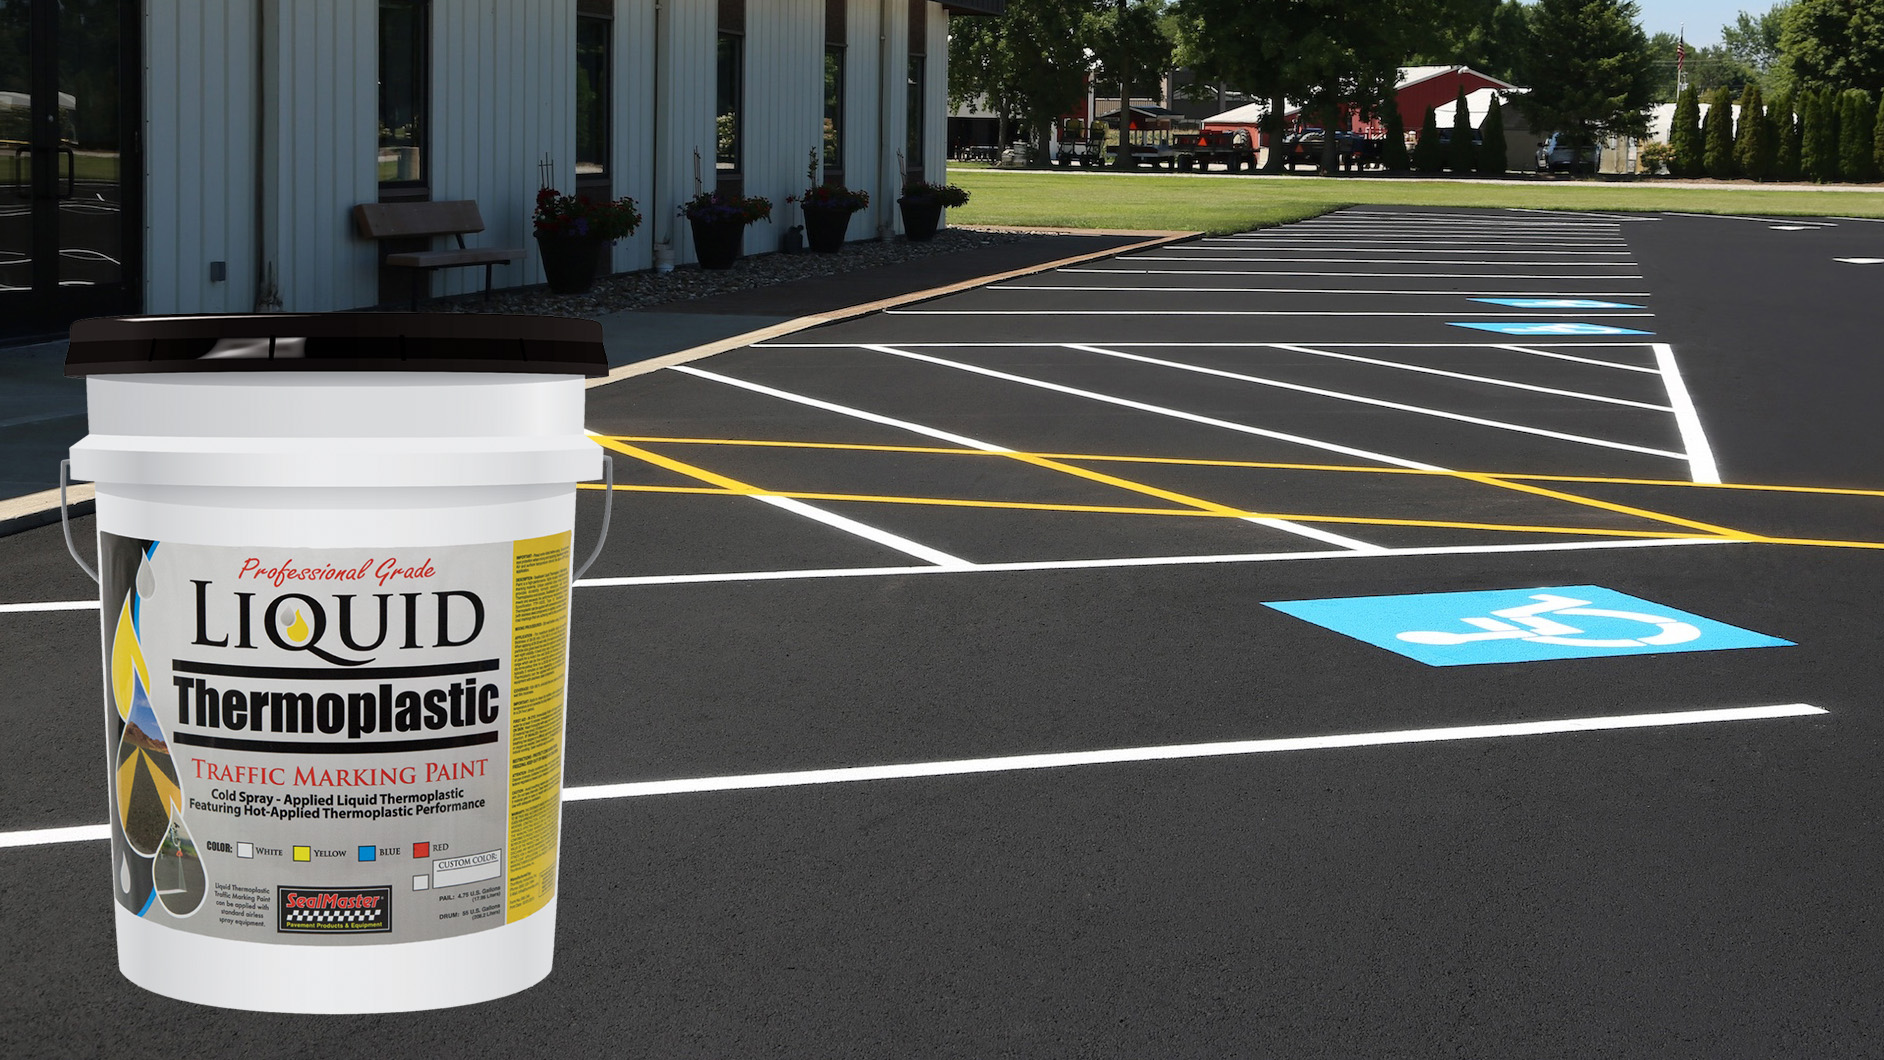
Liquid Thermoplastic Traffic Marking Paint
For areas where durability and wear resistance are a priority, consider Liquid Thermoplastic Traffic Marking Paint. This high-performance traffic marking paint provides a durable option for parking lots and other pavement marking applications. It is available in white, yellow, blue, red and black to accommodate a variety of marking needs.
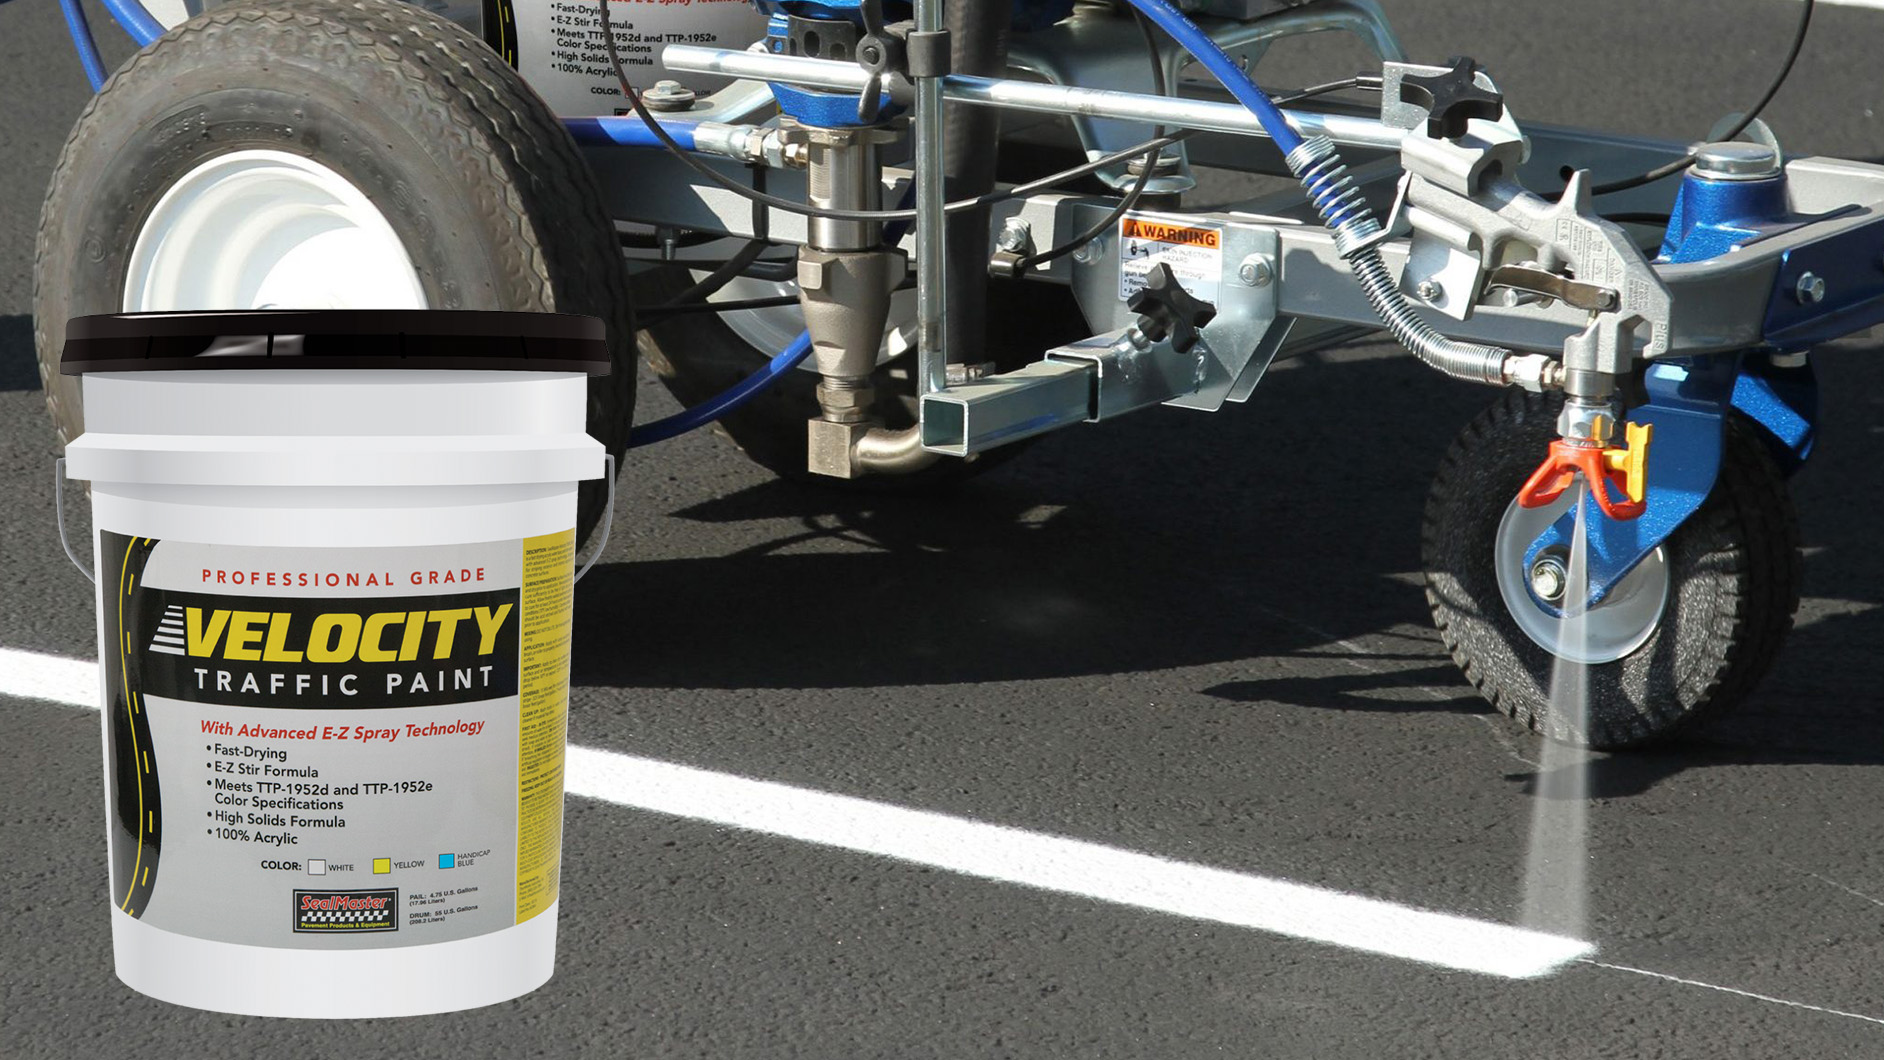
Velocity Traffic Marking Paint
When fast drying and efficient application are important, Velocity Traffic Marking Paint helps keep striping projects moving. This fast-drying traffic paint is available in white, yellow and handicap blue, providing options for parking stalls, accessible areas and other pavement markings.
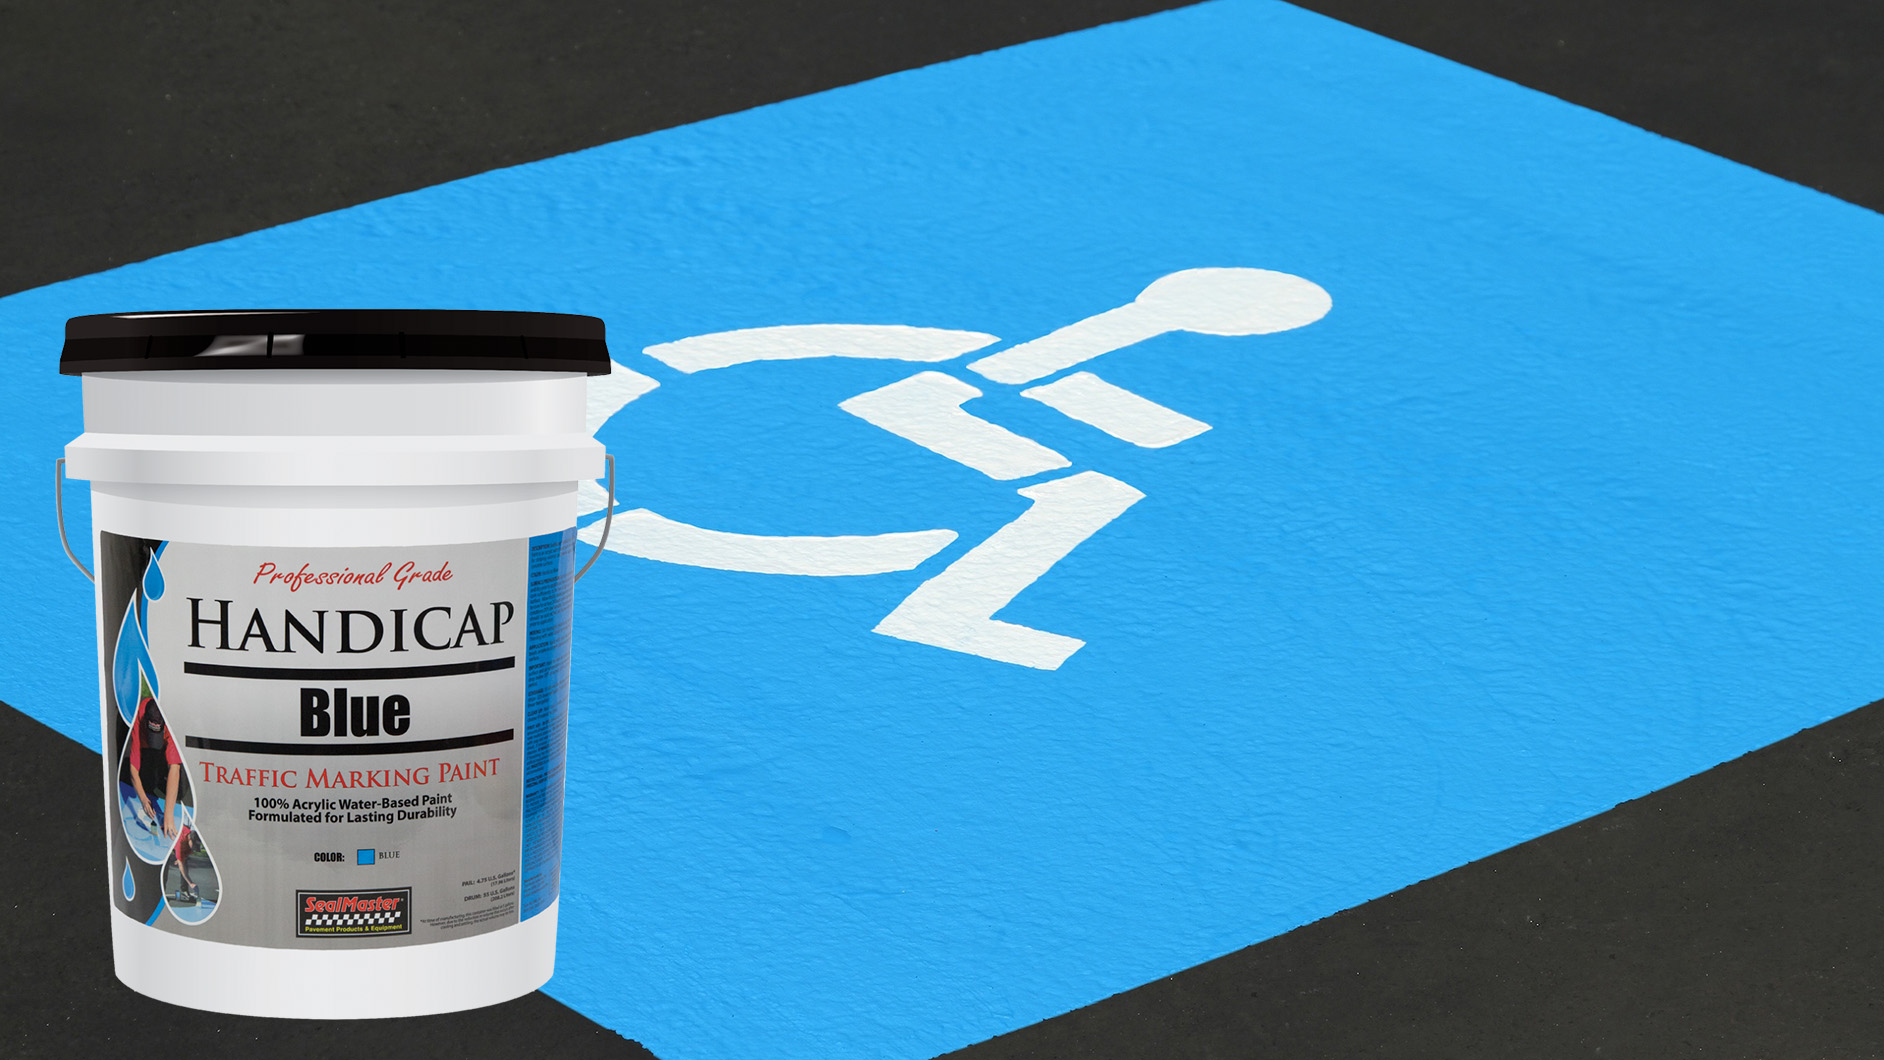
Handicap Blue Traffic Paint
For accessible parking spaces and designated areas, use Handicap Blue Traffic Paint. Its recognizable blue color provides a clear, highly visible way to identify accessible pavement markings.
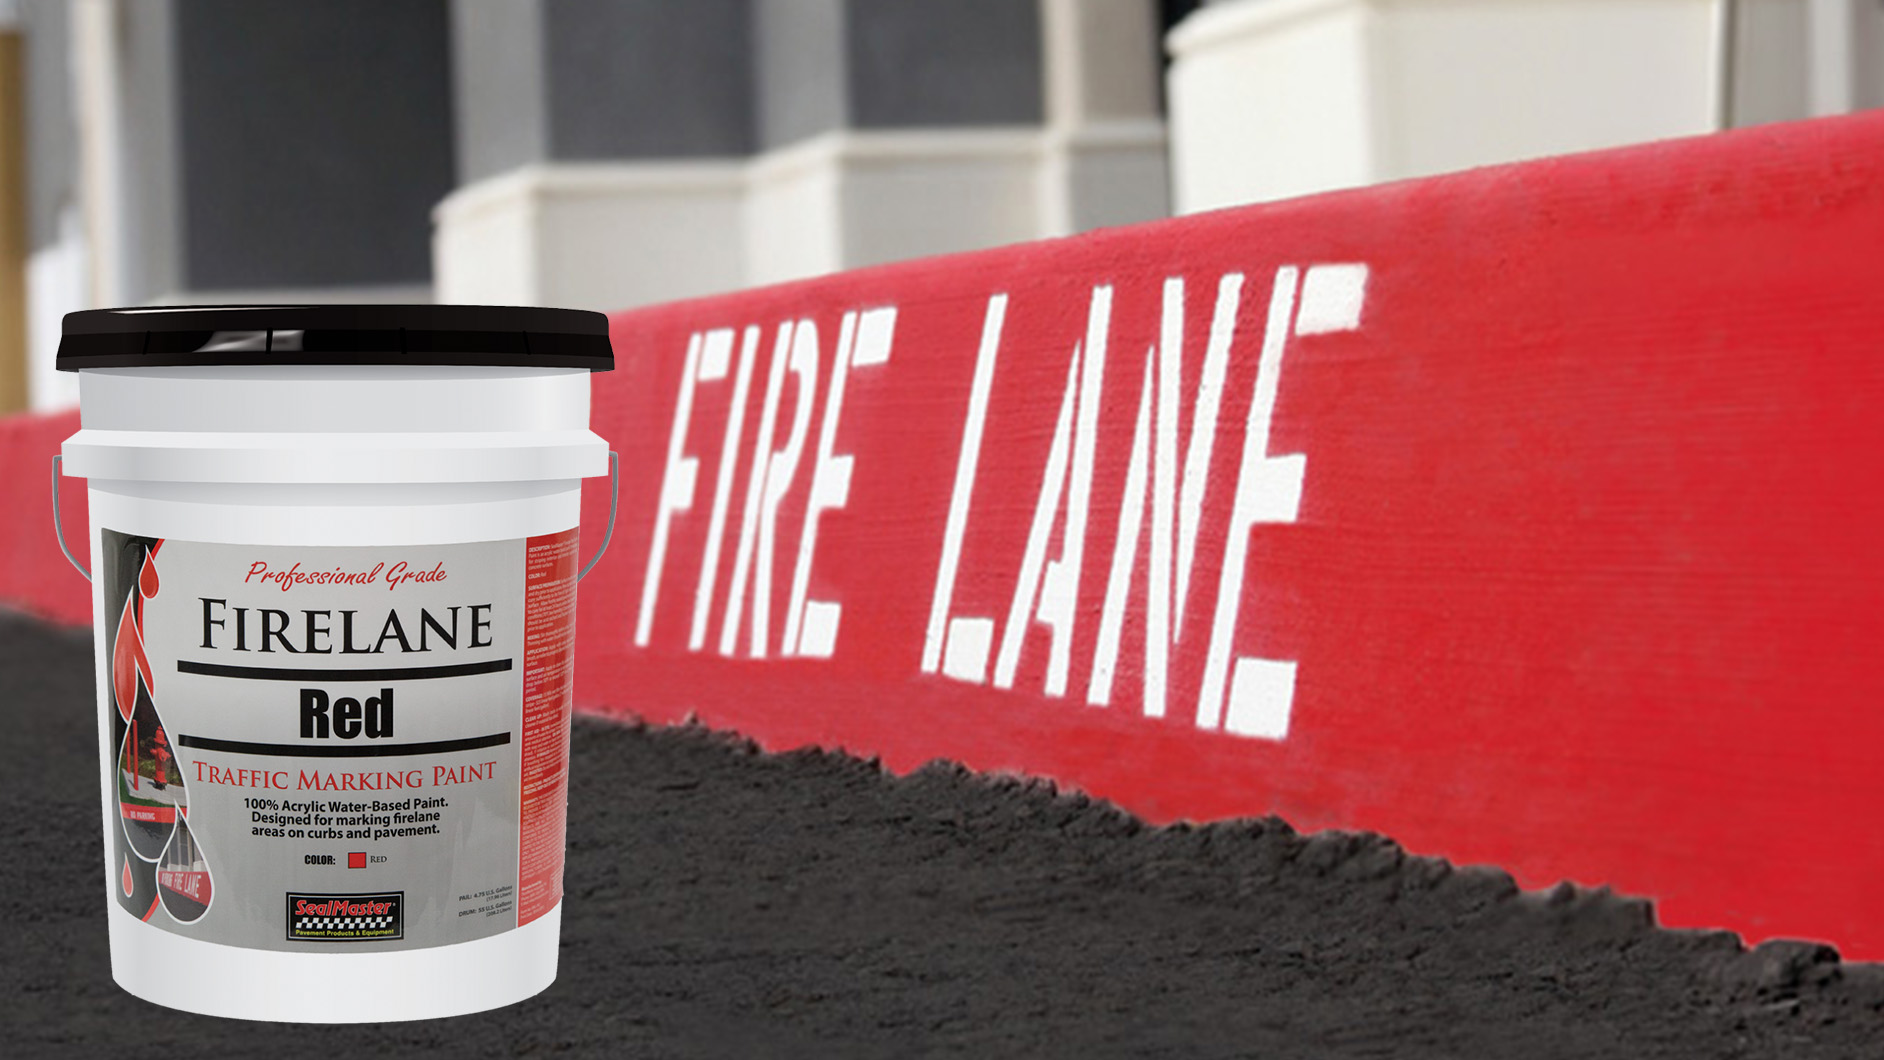
Firelane Red Traffic Paint
For fire lanes, curbs and other areas requiring red markings, use Firelane Red Traffic Paint. The highly visible red finish makes it easy to identify designated areas throughout the property.
Before applying any traffic marking paint, make sure it is compatible with your line striping equipment and review the product recommendations for surface conditions, application and drying time. Always make sure parking stalls, accessible areas, fire lanes, curbs and other markings follow the project specifications and applicable requirements.
Pro Tip: Temperature, moisture and humidity can affect application and drying, so always check the product requirements and weather conditions before starting the job.
Step 6: Get Your Line Striper Ready
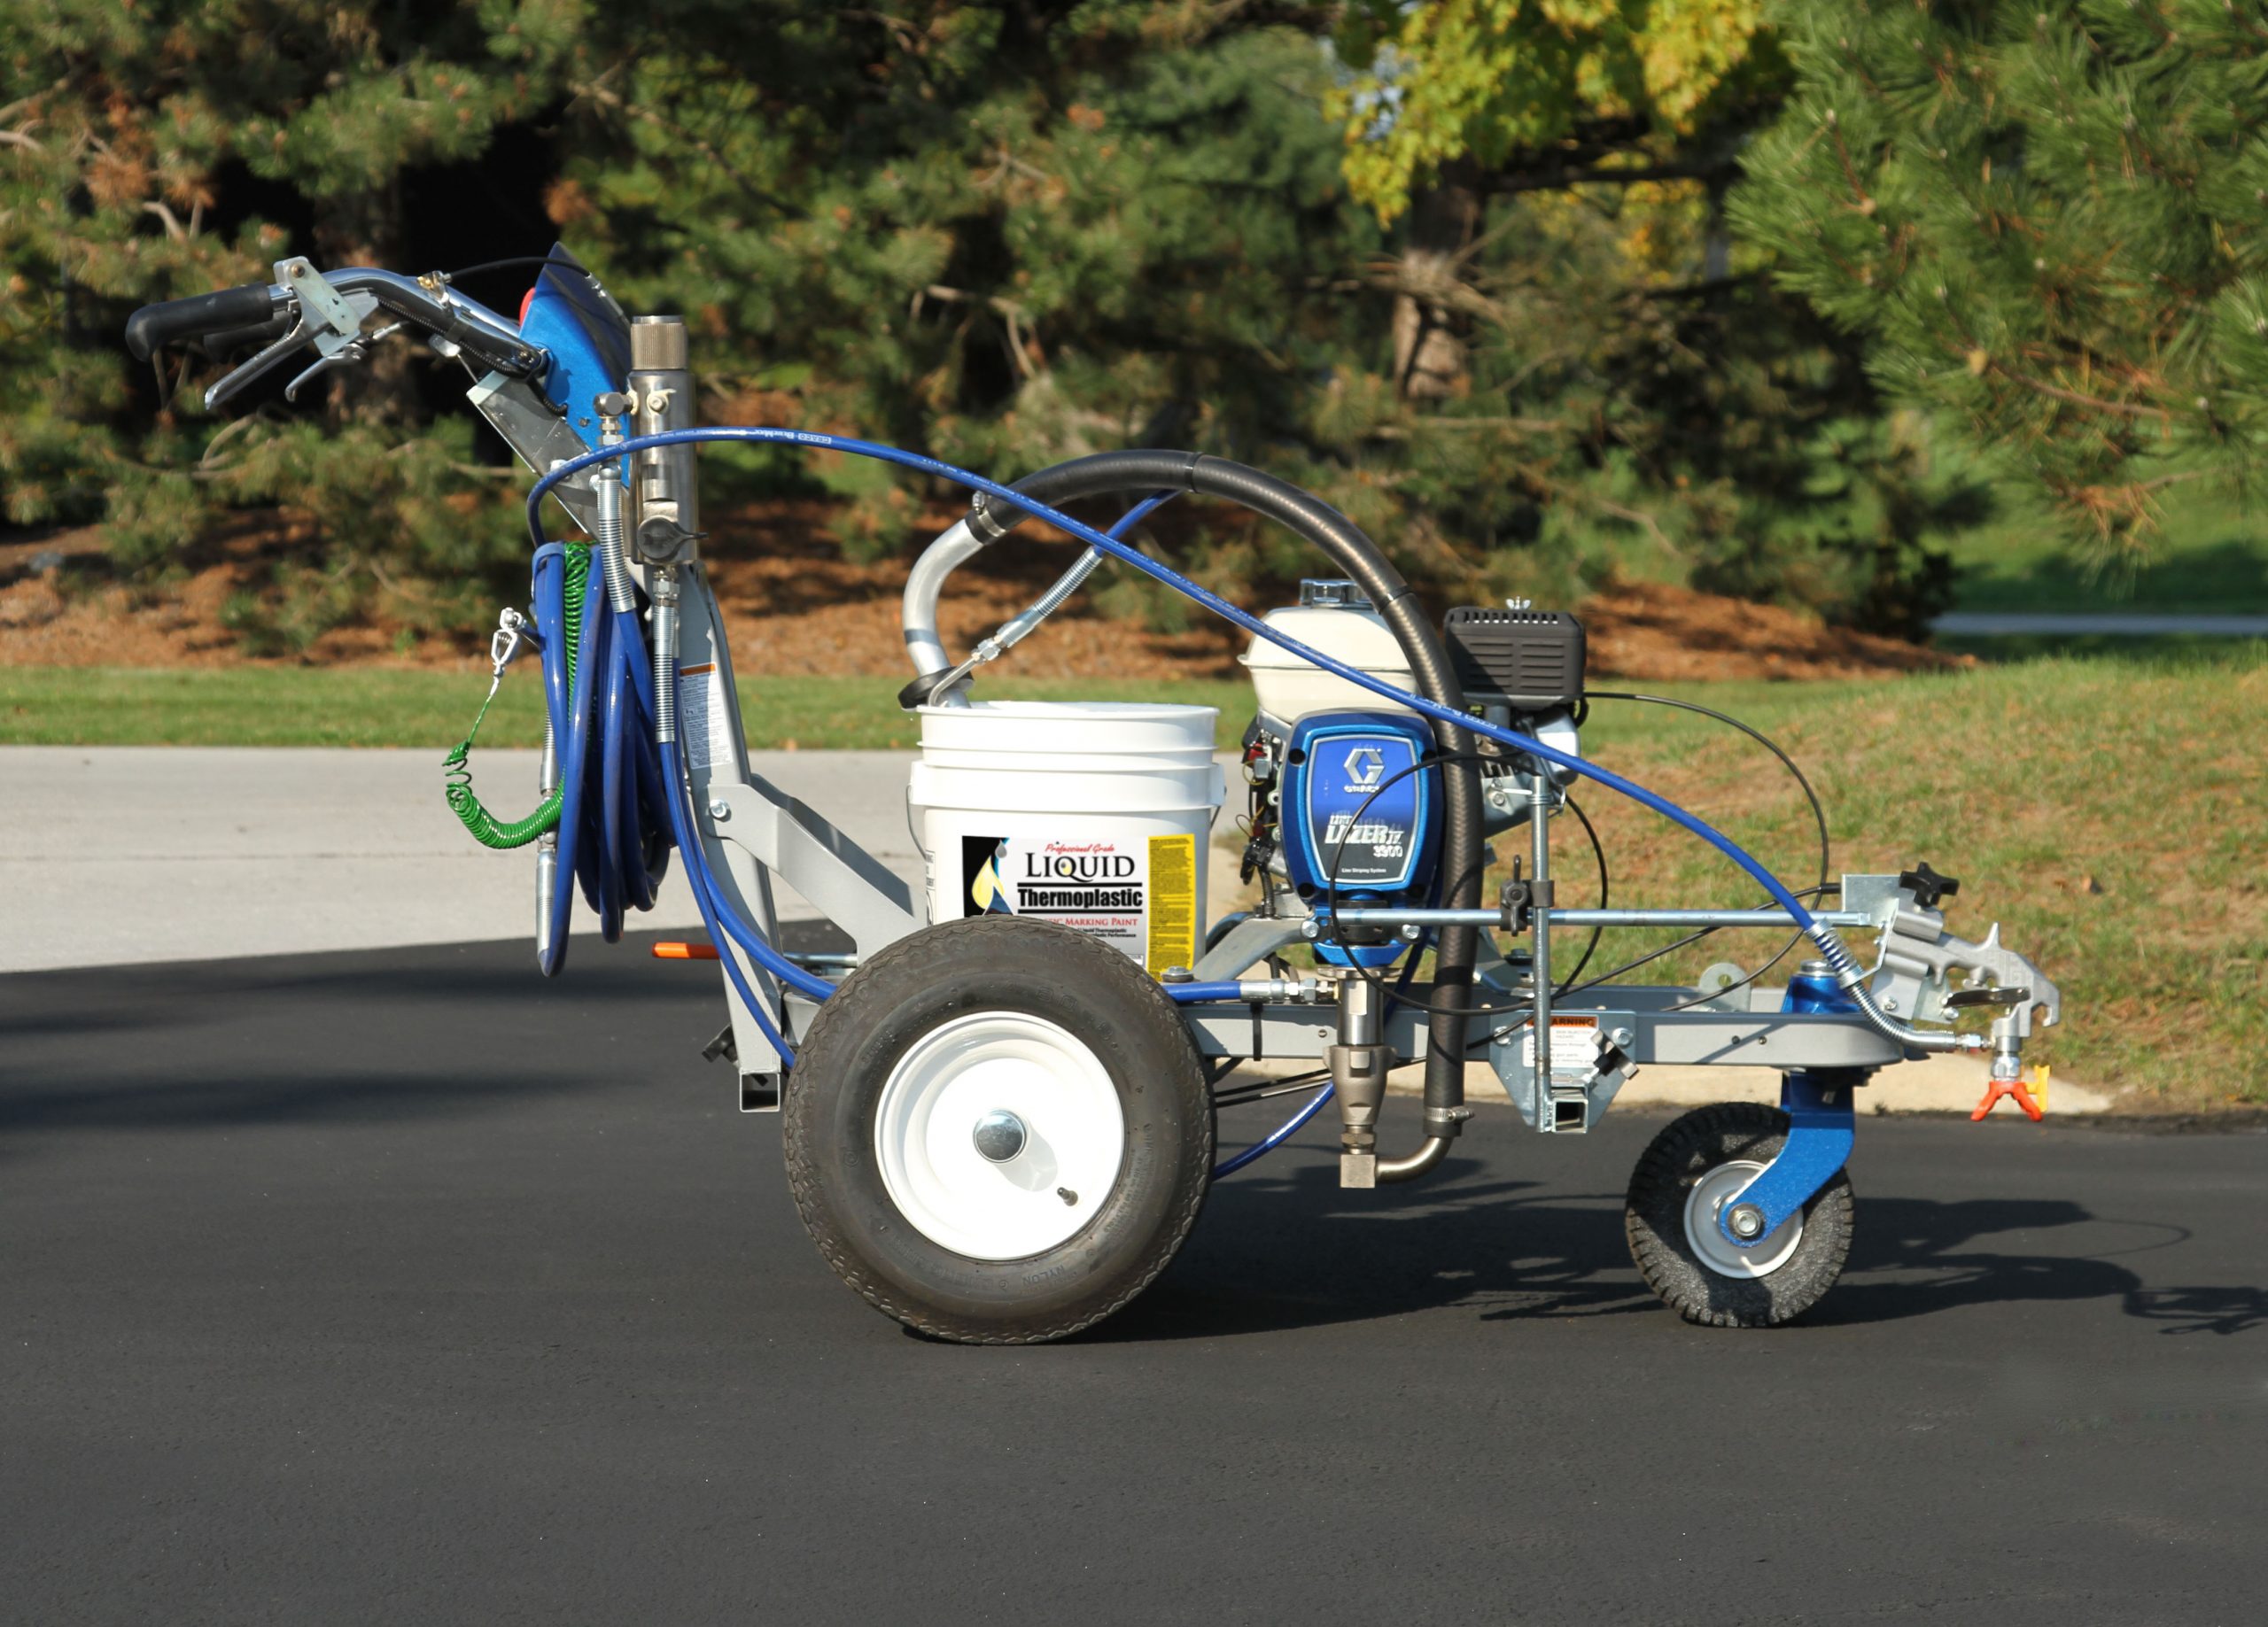
Before you start painting, take a few minutes to make sure your line striper is properly set up for the job. Check the spray gun, tip, filters and other components to make sure everything is clean and working properly.
Adjust the spray gun position and tip height for the line width you need. Check the front wheel alignment and tracking to make sure the machine follows a straight path while striping.
If you are using a two-gun or automatic line striper, set the gun configuration and controls for the type of markings you will be applying. Taking a few extra minutes to get your equipment set up correctly can help prevent mistakes once striping is underway.
Pro Tip: Before moving onto the parking lot, spray a short test line in an inconspicuous area. Check the line width, paint coverage and edges, then make any necessary adjustments to your line striper before you begin.
Step 7: Stripe the Parking Lot
Once your layout is complete and your equipment is set up, you are ready to start striping.
Follow the reference marks established during layout and maintain a steady walking speed to help keep your lines straight and paint coverage consistent.
Work through the parking lot in a planned order rather than moving from one area to another. This can help reduce unnecessary walking, keep the job organized and prevent freshly painted areas from getting in your way as you continue striping.
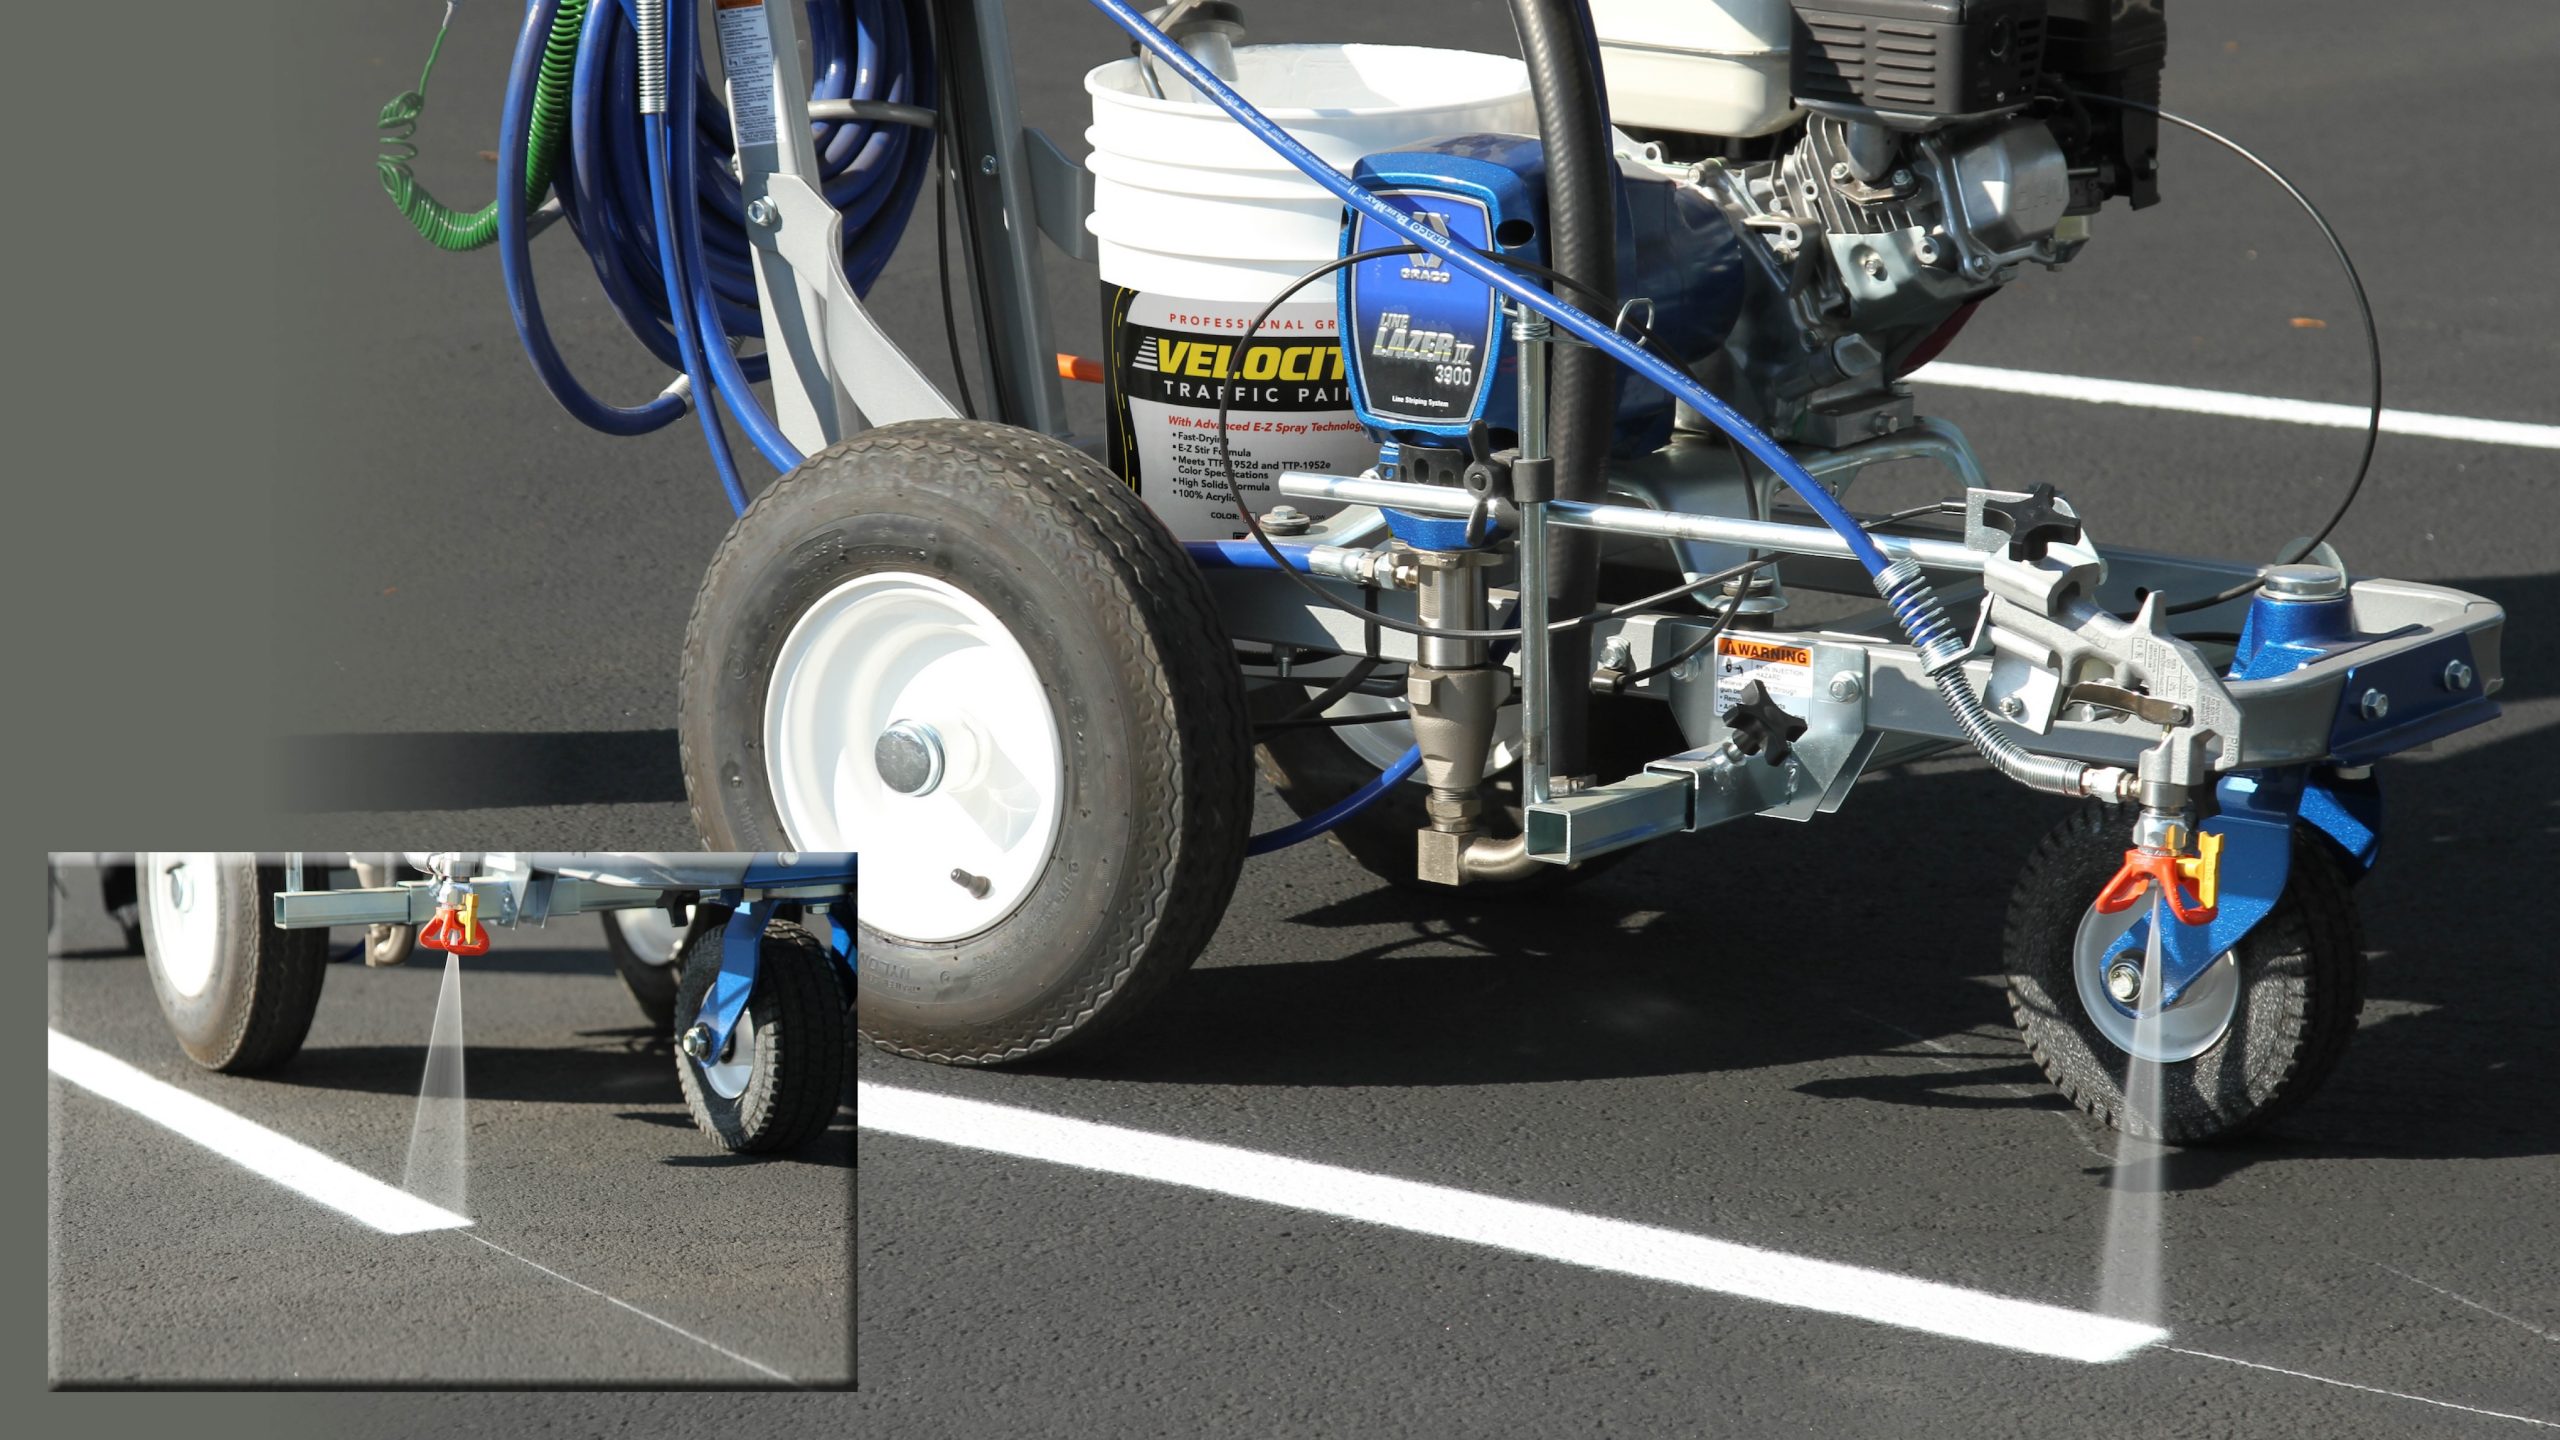
Pay attention to your lines as you work. Check the width, coverage and edges periodically and make adjustments to your line striper if needed. It is much easier to correct an issue early than after a large portion of the parking lot has already been painted.
Pro Tip: For larger or more complex projects, two-gun and automatic line stripers can help increase productivity and provide additional control when applying different line patterns.
Step 8: Finish with Stencils and Specialty Markings
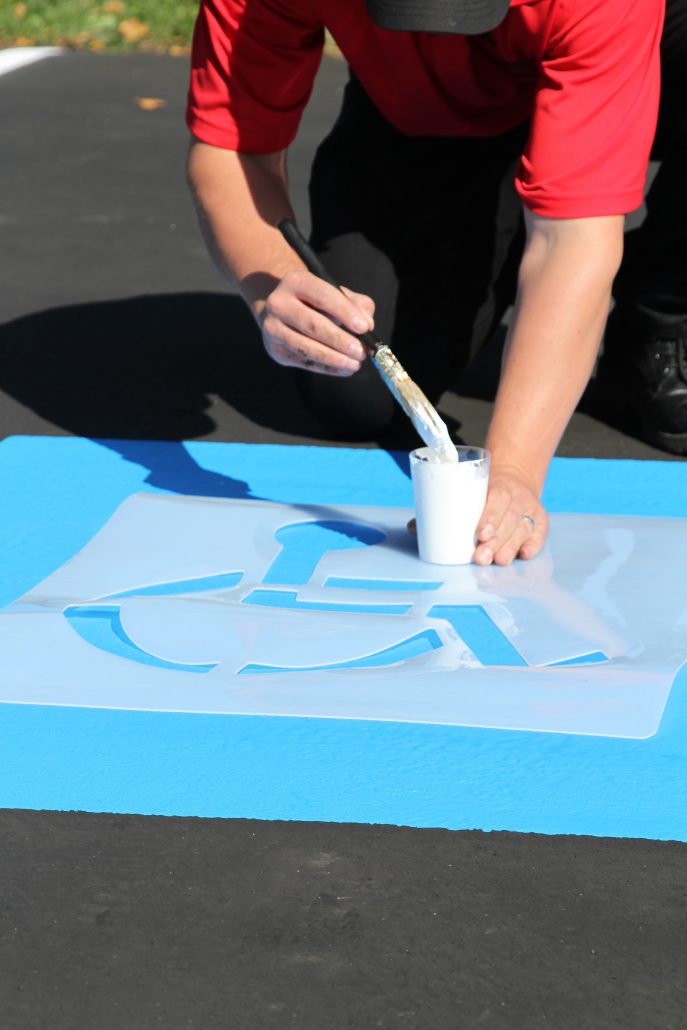
Once the main parking lines are complete, move on to arrows, accessible symbols, numbers, letters and other specialty markings included in the layout.
Position each stencil carefully and make sure it is secure before applying paint. Apply the paint evenly to create a clean, easy-to-read marking and avoid applying too much paint at once, which can lead to build-up or uneven edges.
Take your time when positioning repeated markings throughout the parking lot. Keeping symbols, arrows and lettering consistent will help give the finished project a clean, uniform appearance.
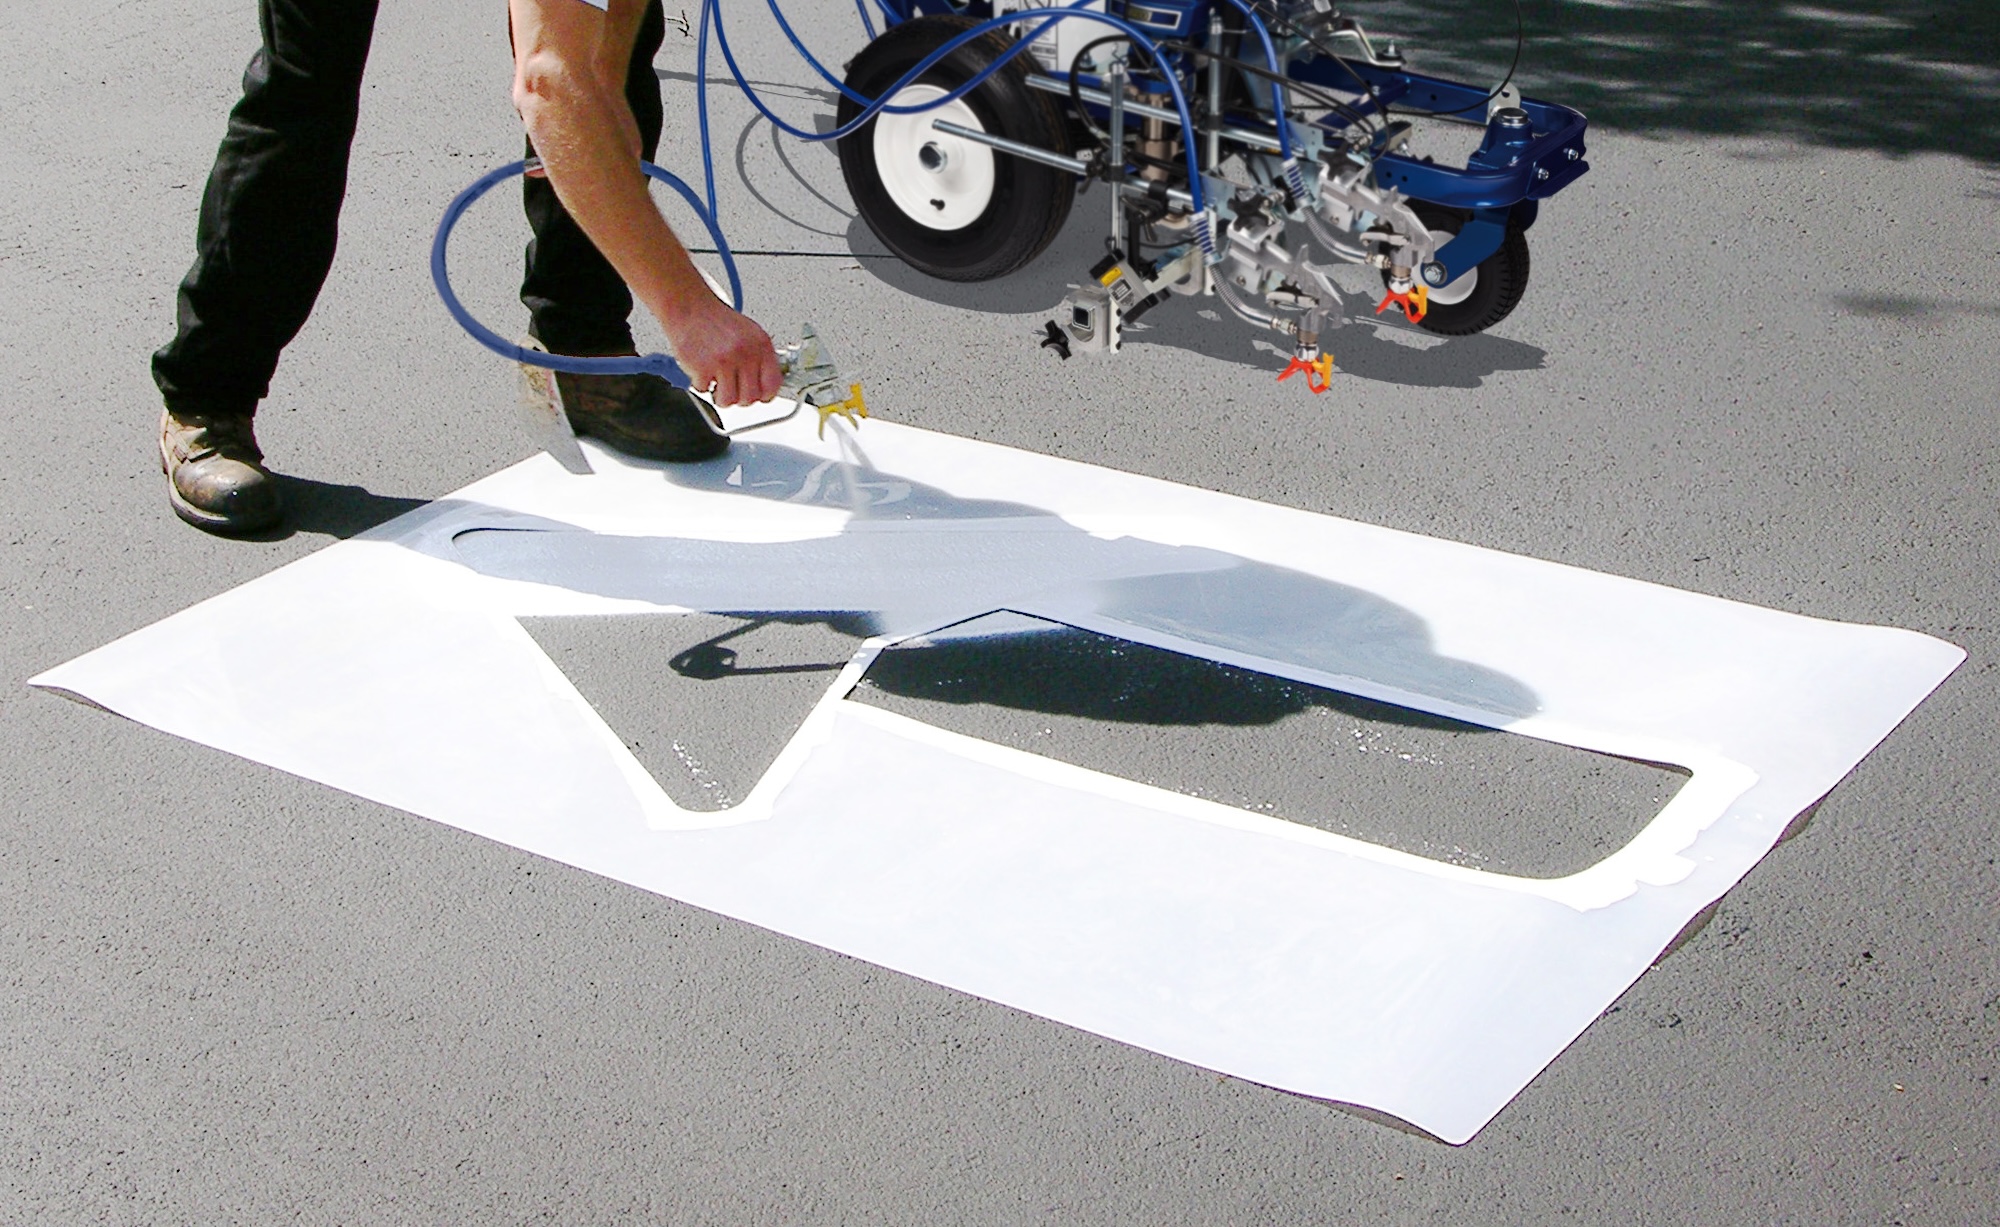
Allow the paint to dry before removing or repositioning stencils and be careful not to track fresh paint as you move throughout the lot.
Step 9: Give the Paint Time to Dry
Once striping is complete, give the traffic paint enough time to dry before reopening the parking lot to vehicles and pedestrians. Drying time can vary depending on the type of paint, pavement and air temperatures, humidity and how heavily the paint was applied.
Always follow the recommended drying time for the traffic marking paint you are using. Before reopening the lot, check that the lines and markings are fully dry and ready for traffic.
While the paint dries, use cones, barricades or other traffic control measures to keep vehicles and pedestrians away from freshly painted areas. This helps protect the new markings and prevents paint from being tracked across the pavement.
Before wrapping up the job, walk the parking lot one final time to check your lines, stencils and other markings and make sure everything is complete.
Parking Lot Striping Mistakes to Watch For
Even with the right equipment and materials, small mistakes can affect the finished job. Taking the time to properly prepare and set up before striping can help prevent unnecessary rework.
Some common mistakes to watch for include:
- Striping over dirty or damp pavement – Dirt, debris and moisture can interfere with paint adhesion and affect the finished markings.
- Skipping the layout process – Always measure and verify your layout before you start painting rather than relying on sight alone.
- Not checking your equipment setup – Incorrect gun position, tip height or wheel alignment can result in inconsistent or uneven lines.
- Applying too much or too little paint – Pay attention to coverage as you work and make adjustments when needed.
- Ignoring weather conditions – Temperature, moisture and humidity can affect how traffic paint applies and dries.
- Reopening the lot too soon – Give markings enough time to dry before allowing vehicles and pedestrians back into the area.
A little extra time spent on preparation, layout and equipment setup can go a long way toward producing clean, consistent markings and avoiding problems later in the job.
Learn More About Traffic Marking Paints
Choosing the right traffic marking paint can make a difference in application, drying time and long-term performance. Learn more about the different types of traffic marking paints available and what to consider when selecting a product for your next pavement marking project.
SealMaster Support & Expertise
SealMaster offers a complete selection of traffic marking paints, line striping equipment, stencils and pavement preparation equipment for professional striping applications.
With more than 160 manufacturing and distribution locations worldwide, SealMaster provides local access to products, equipment and knowledgeable support to help contractors, municipalities and property owners find the right solutions for their pavement marking needs.
To learn more about SealMaster traffic marking paints and line striping equipment or to find your nearest SealMaster location, contact your local SealMaster or call 800-395-7325.